

How to do German Camouflage on a StuG
This content has been kindly provided to you by Kevin Carr!
One of the most popular wargaming armies of WW2 are Germans. Some like them because of the good/veteran troops that are usually on their roster, some like them just because they are usually the underdog in terms of numbers, and some, like me, like them just because they have by far the coolest vehicles!
Although that diversification has probably spelled more trouble for them during the actual war, in terms of wargaming German armies can field an impressive amount of vehicle variants, with eclectic weapons sometimes thrown in the mix (who has the only Infrared using tanks, huh? huh?).
Outside of that, the German vehicle panoply then simply outbids itself with the vast amount of camouflage schemes that were fielded. I mean, you can look no further then this site for almost 100 schemes that were applied to various vehicles, with specific patters for early, mid and late war, together with summer or winter colors.
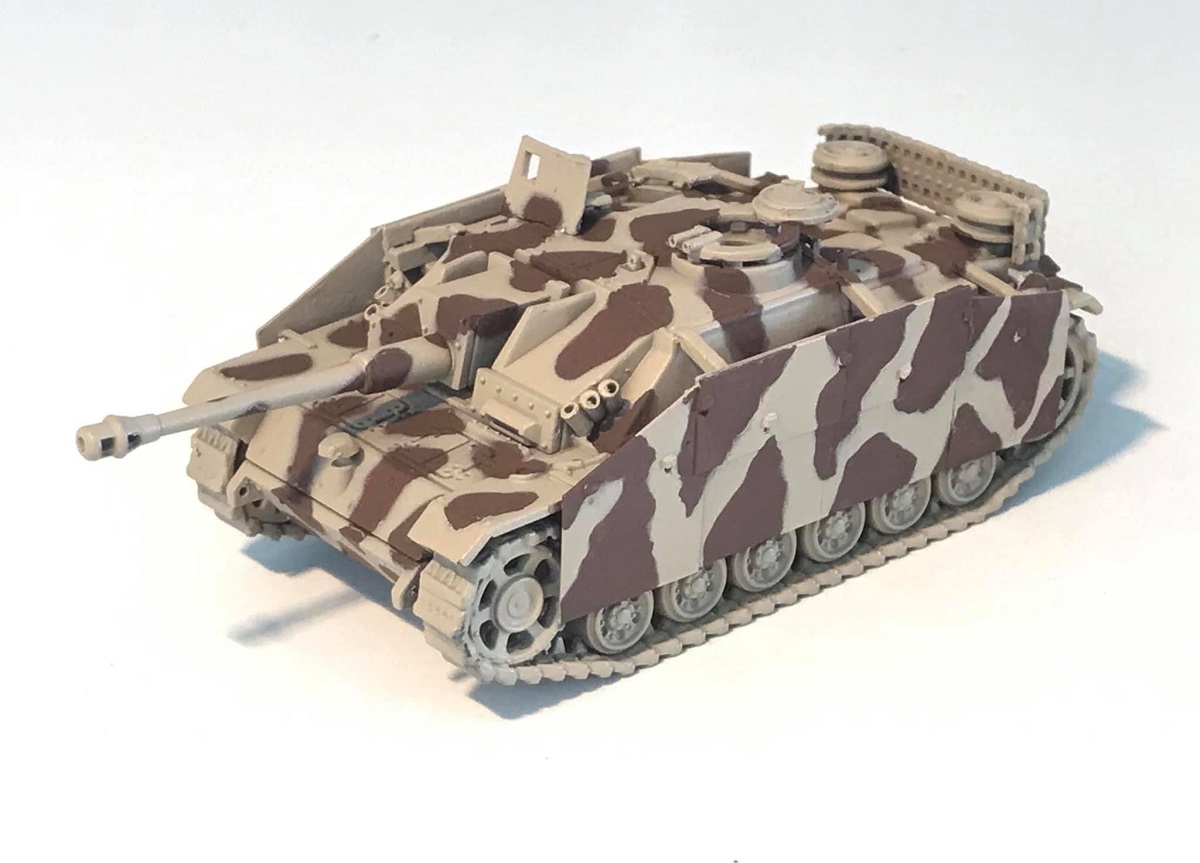
So it comes to no surprise that some of the most sought after tutorials are the ones for German camouflage. In this article we’re going to show you a simple way of doing a 2 color camo scheme, brown spots over dunkelgelb base, which has probably been used sometimes in mid to late war, especially on the vast plains of Russia. The model used is a 1/72 Plastic Soldier StuG, probably one of the most crisp and fast assembly models i have had the pleasure of owning, so i totally understand’s Kevin’s choice! 🙂
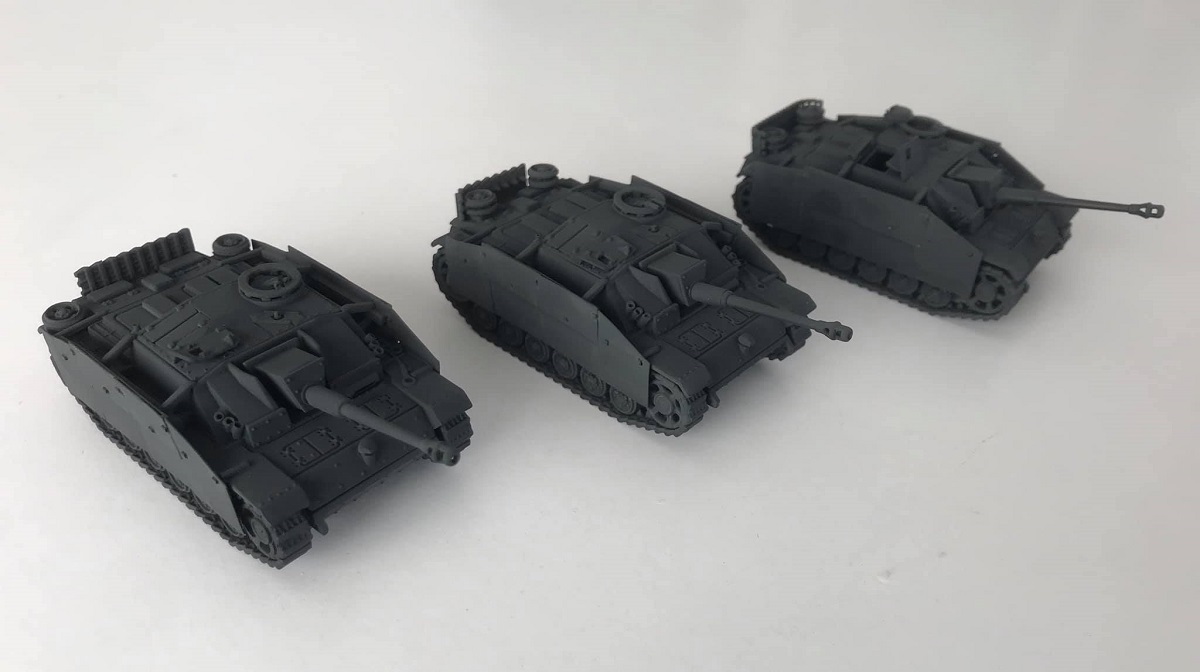
Black undercoat applied.
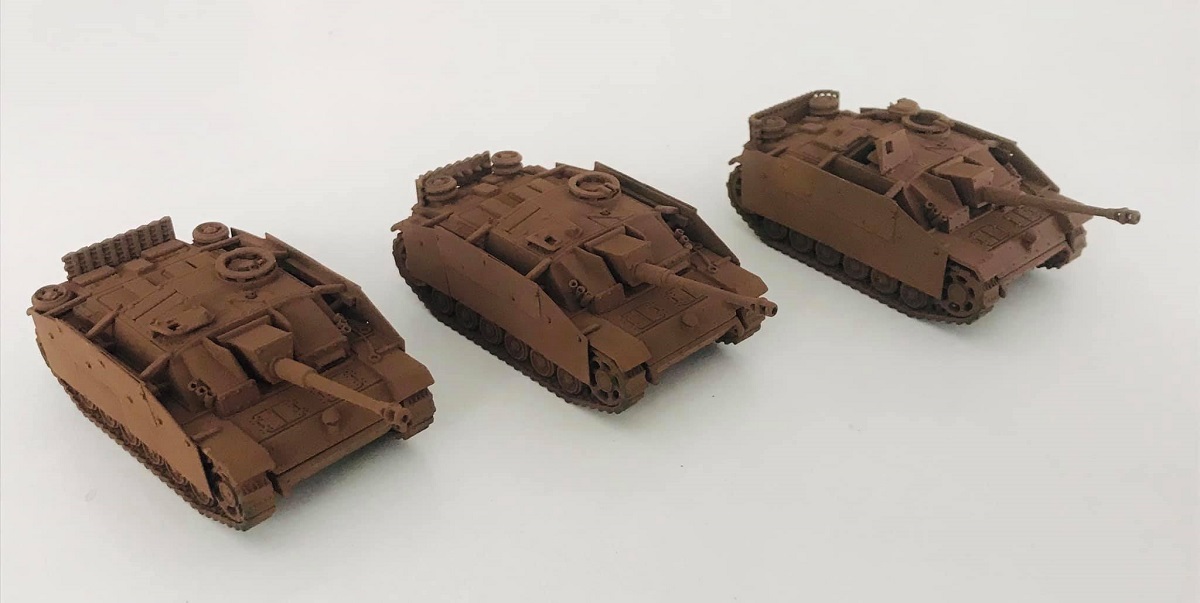
Red brown applied for the RAL 8017 camouflage colour.
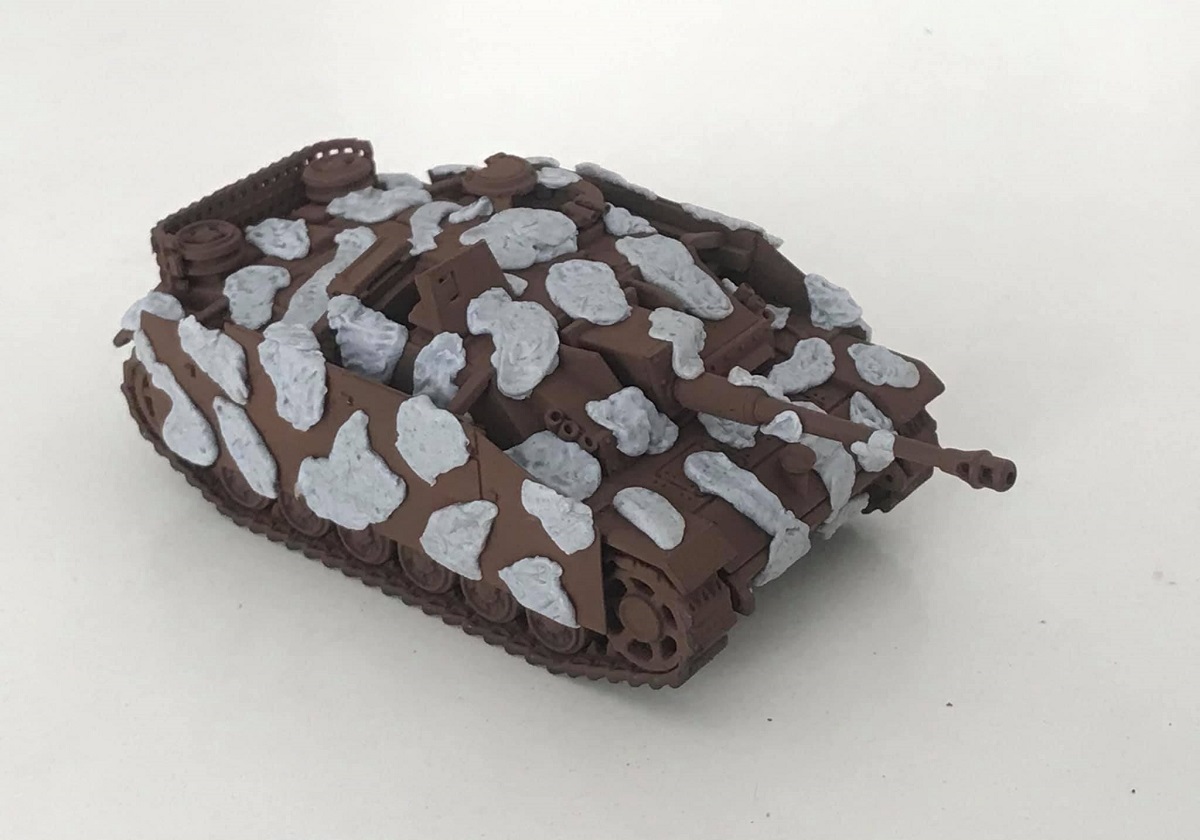
Blu tack applied to represent the desired shape of the red brown camouflage.
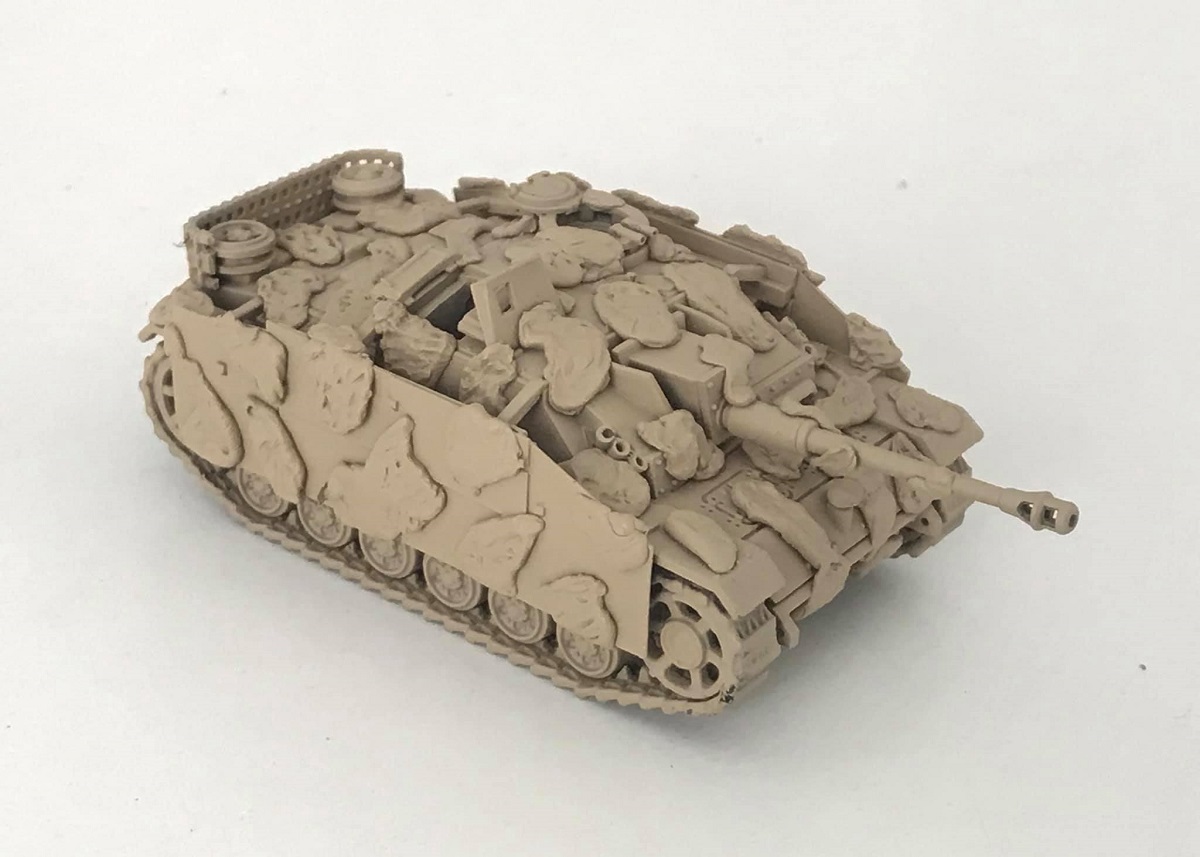
Final coat of sand yellow applied to represent the RAL 7028 dunkelgelb base colour.
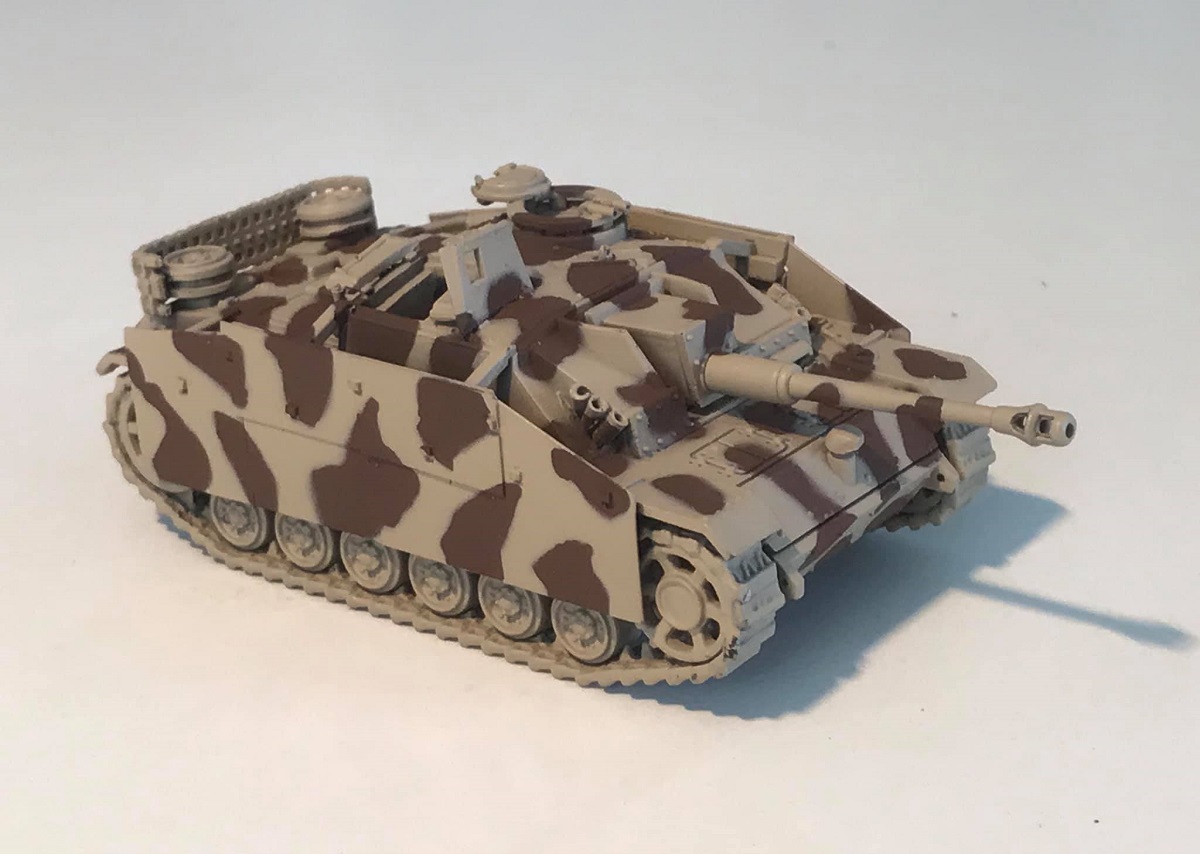
Blu tack removed.
Ready for weathering and detail painting.
Leave a Reply