

Wargaming Terrain: Making muddy roads
This content has been kindly provided to you by Democratically Elected Republic of Players. Thank you, guys!
As we all know, all potential World War 2 games (and not only) greatly benefit from a realistic setting that emphasizes the reason for the action. Sure, you could have a tank battle in the jungle if you wanted to, but to be realistic, you’d probably want that encounter to either happen in a complete open ground with some cover or in an objective like setting.
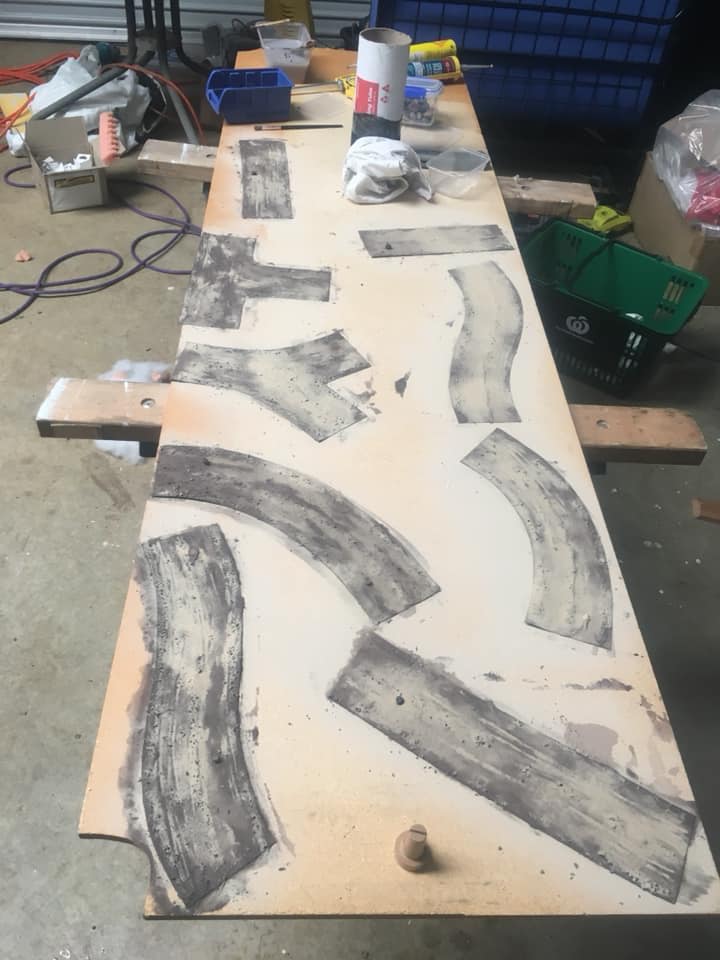
The most natural objective in wargames is usually a town or small settlement, and that means roads (especially muddy roads). Some of us buy the terrain they use, some of us do a poor DIY job, and some of us seem to be gifted in creating realistic setups. With no further ado, let’s just go right to the instructions. Our hero for today: VINYL!
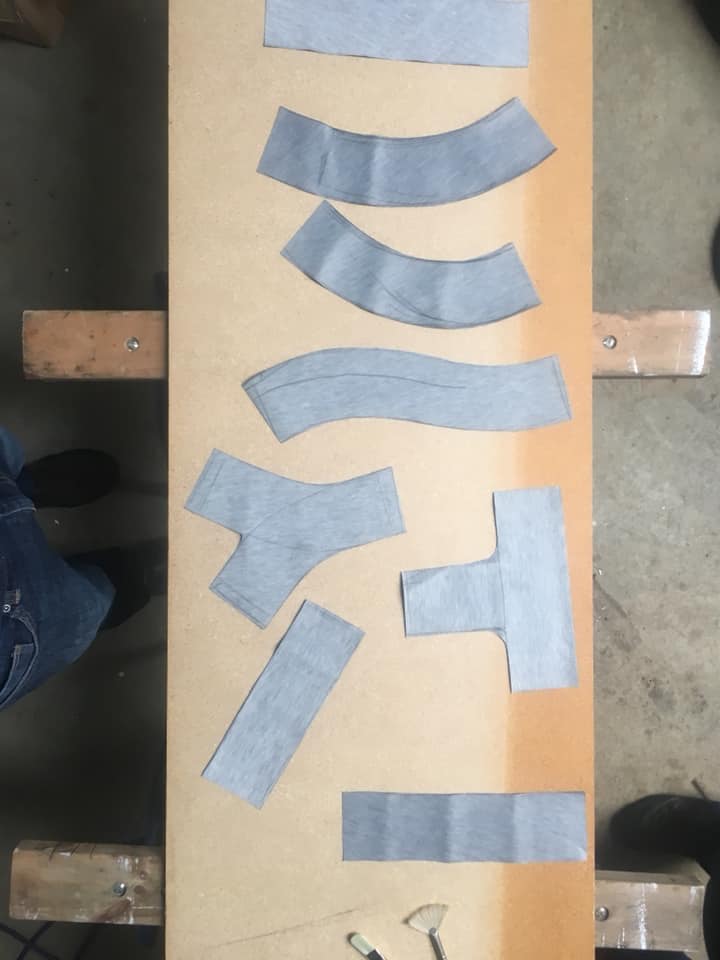
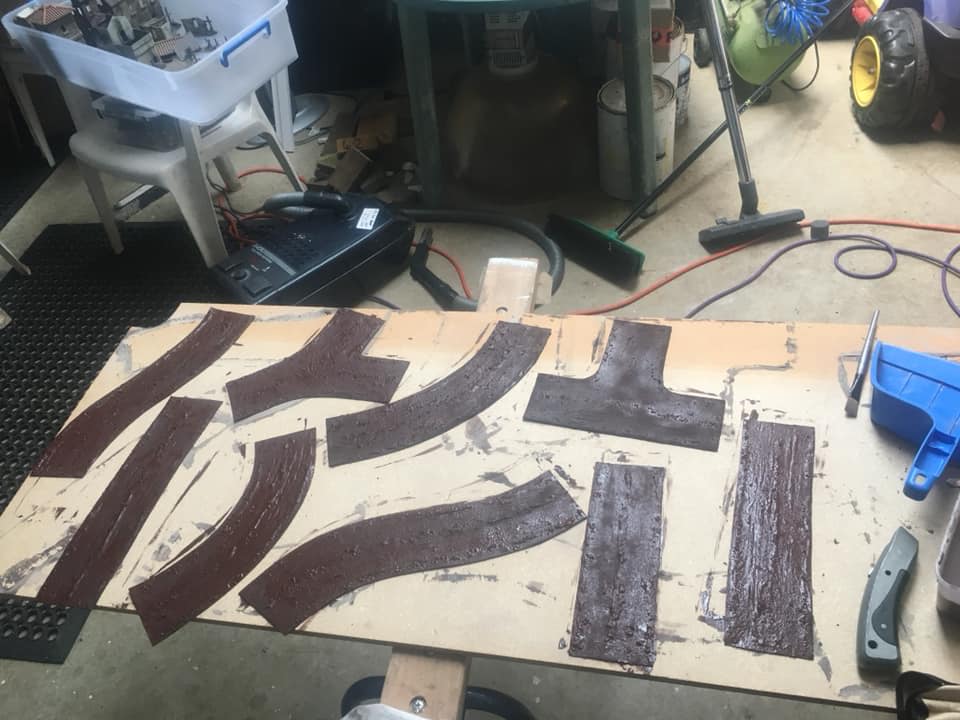
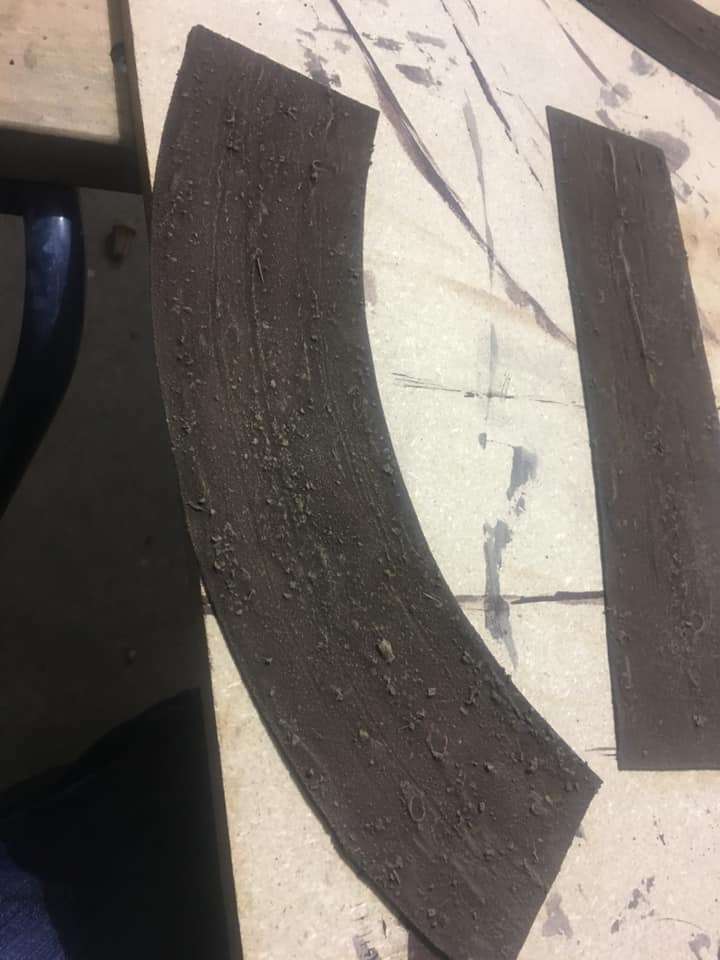
Start by cutting out your shapes from cheap upholstery vinyl. Don’t use the shiny side but the underside of the vinyl (this will prevent the road curling up as it dries). Be aware this process can be messy make sure to use a sacrificial work space. (Not the kitchen table)
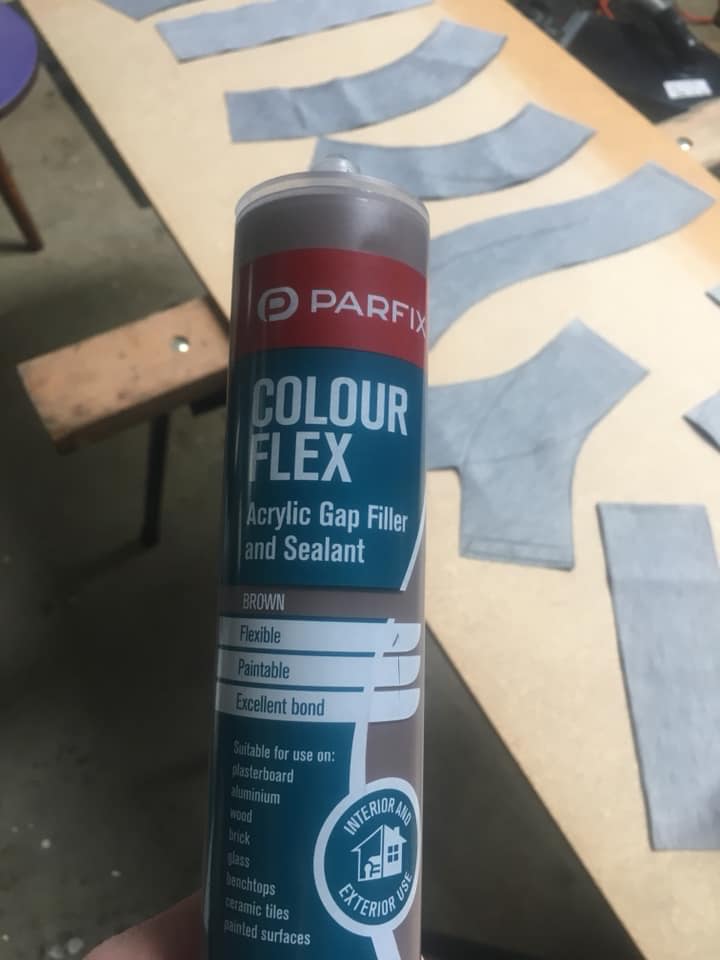
Brown Caulk is our next step, ensure it’s water based and easy to clean up.
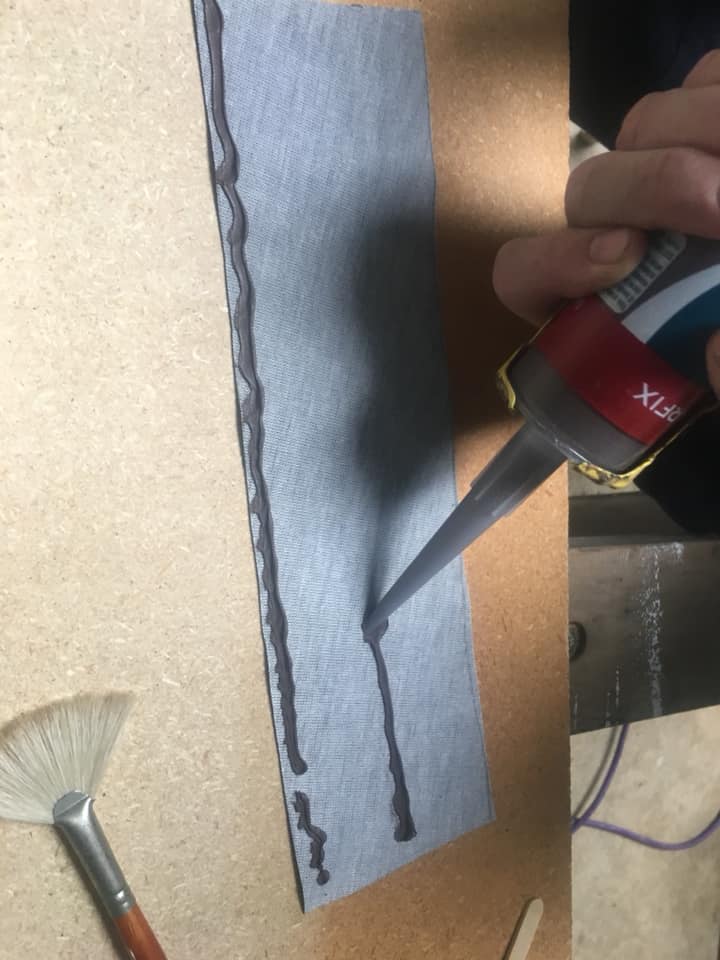
Run a rough bead down each piece of road on the outside edges and in the centre
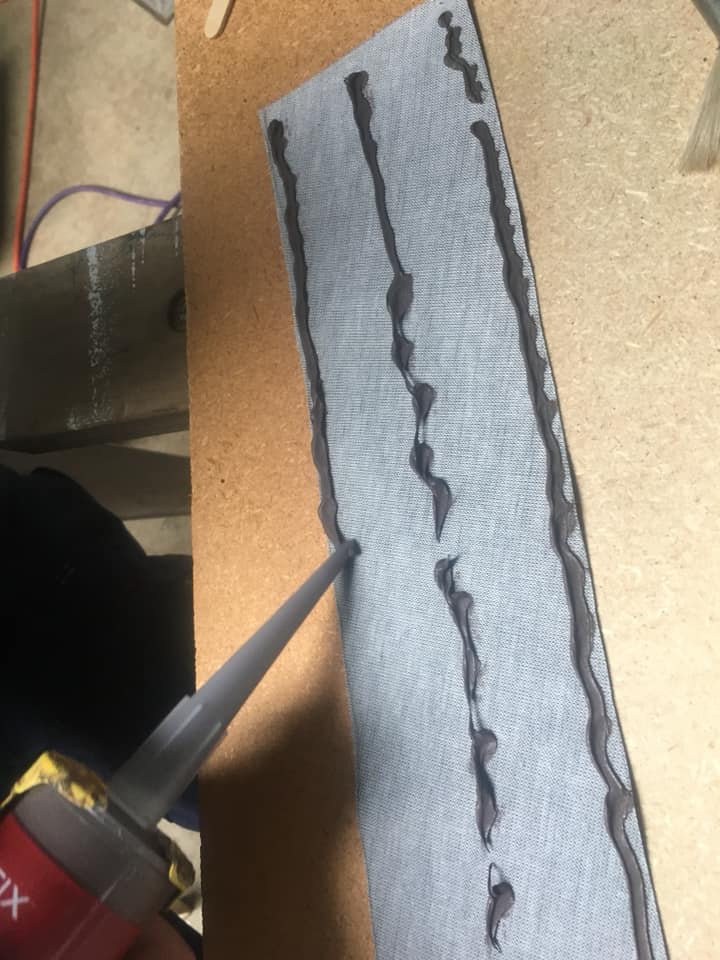
Continuing with the rough beading
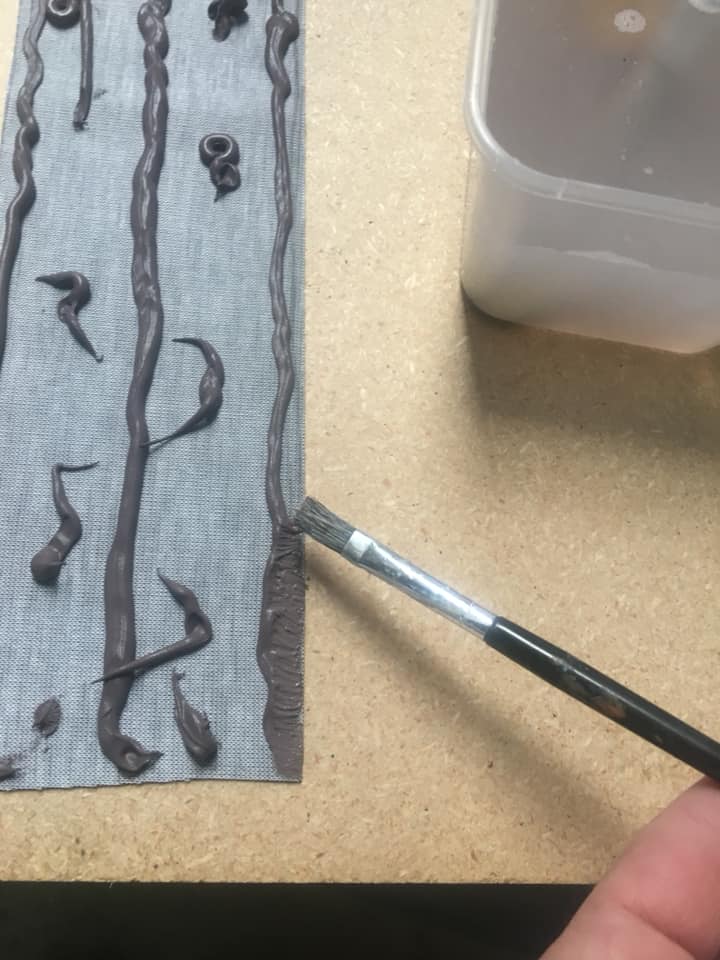
Take a stiff bristle brush and dipping it into a tub of water work the caulk to the edges and spread out over the entire vinyl. What you are doing here is creating the raised/built up pieces of the road
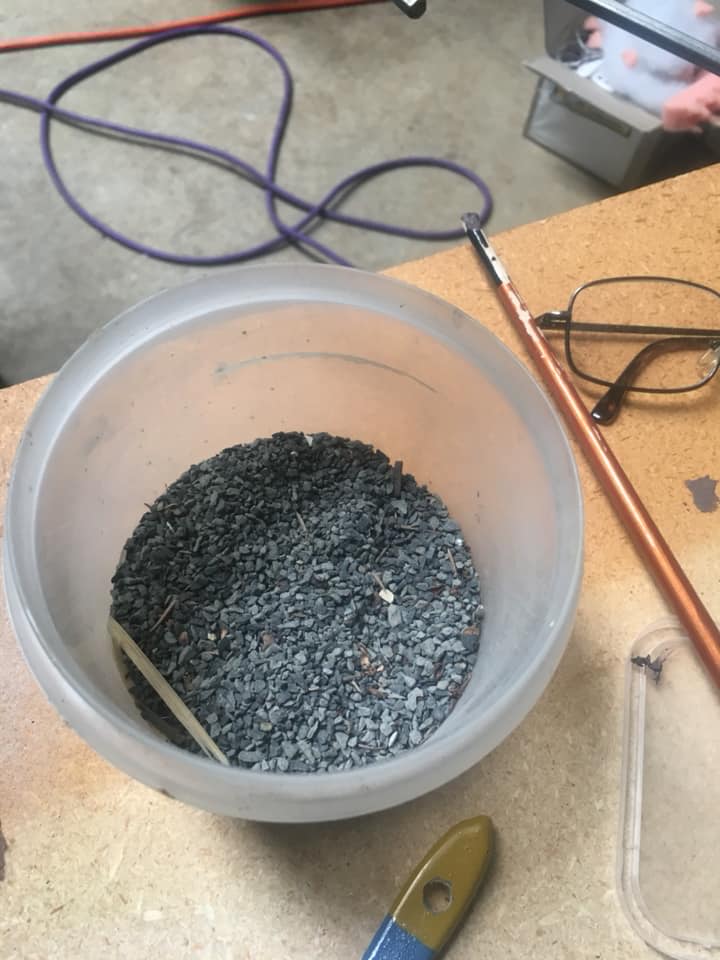
A mix of fine to medium gravel (crusher dust) is sprinkled sparingly along the edges and up the middle of each piece
Using a ice cream stick make road wheel lines up the road where appropriate
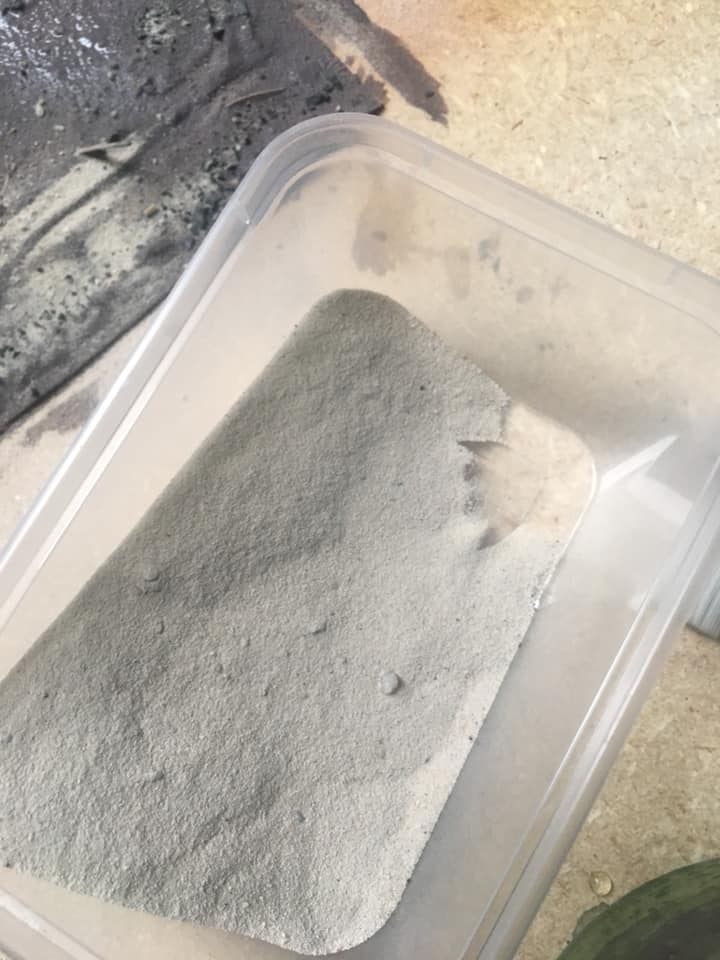
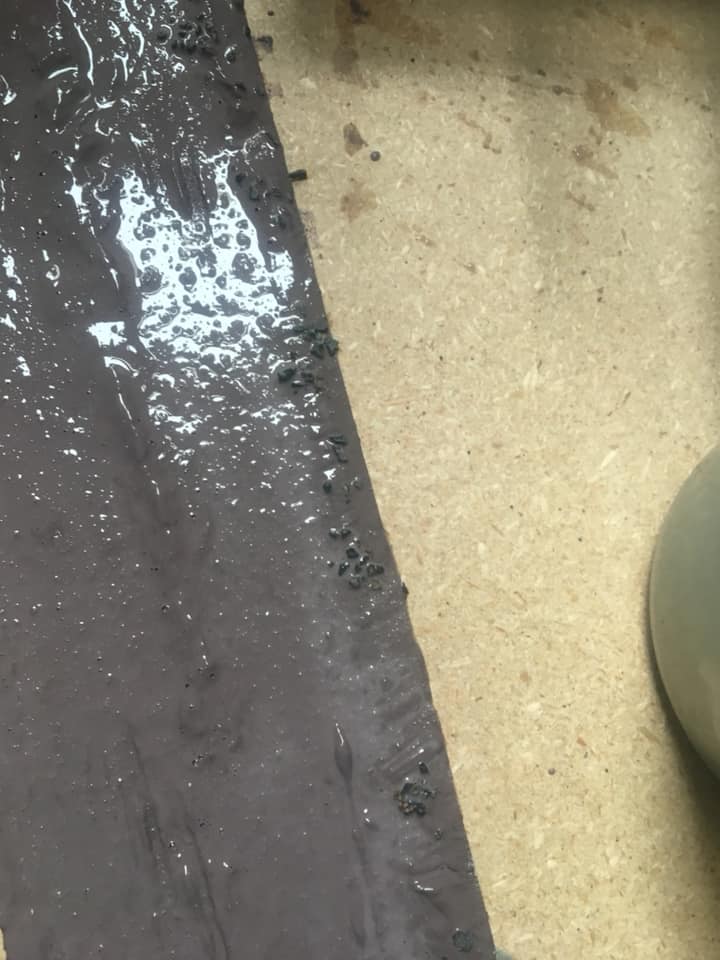
Brickies Mortar sand (super fine) is then spread over the whole surface.
Add the odd larger rock at this stage as well. Cover it vigorously with the fine sand.
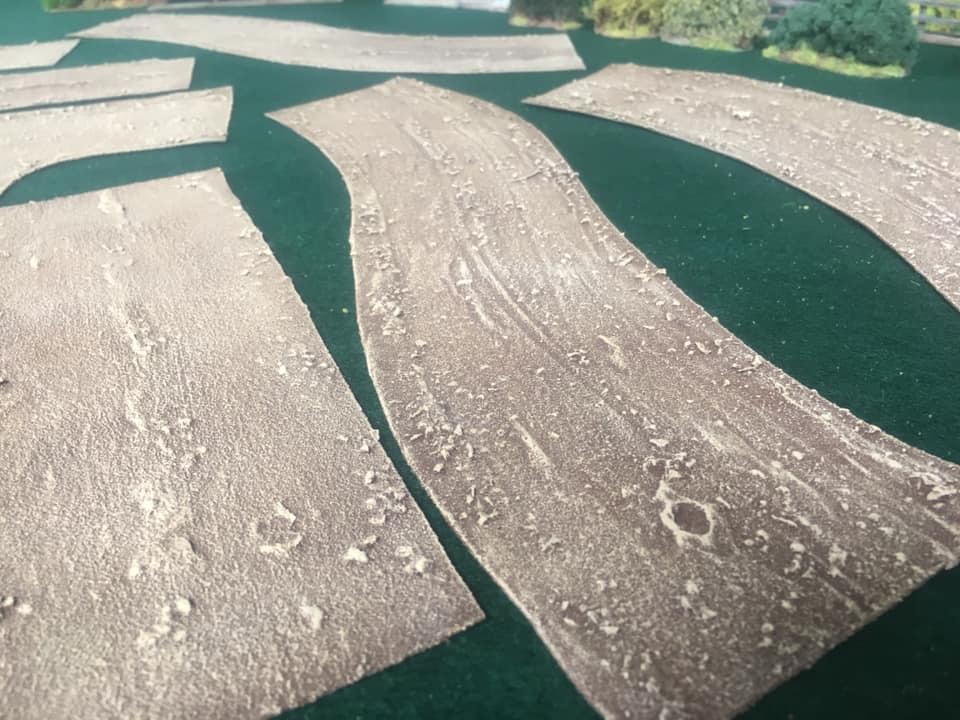
Another section at the same stage clearly showing the “wheel lines”
This batch is now ready to dry
24 hours later the caulk has set and we’re ready to start the next process
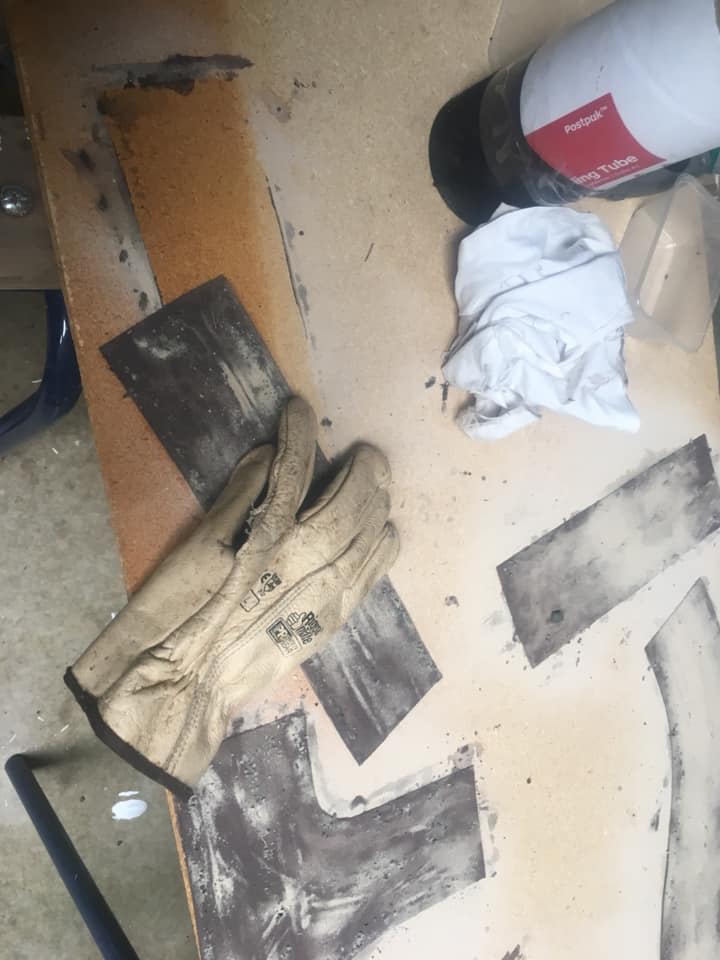
Shake off the excess sand. Then using a leather glove work over the surface to dislodge any loose particles. Don’t be scared to roughly attack this stage. If a piece comes off it wasn’t meant to be there
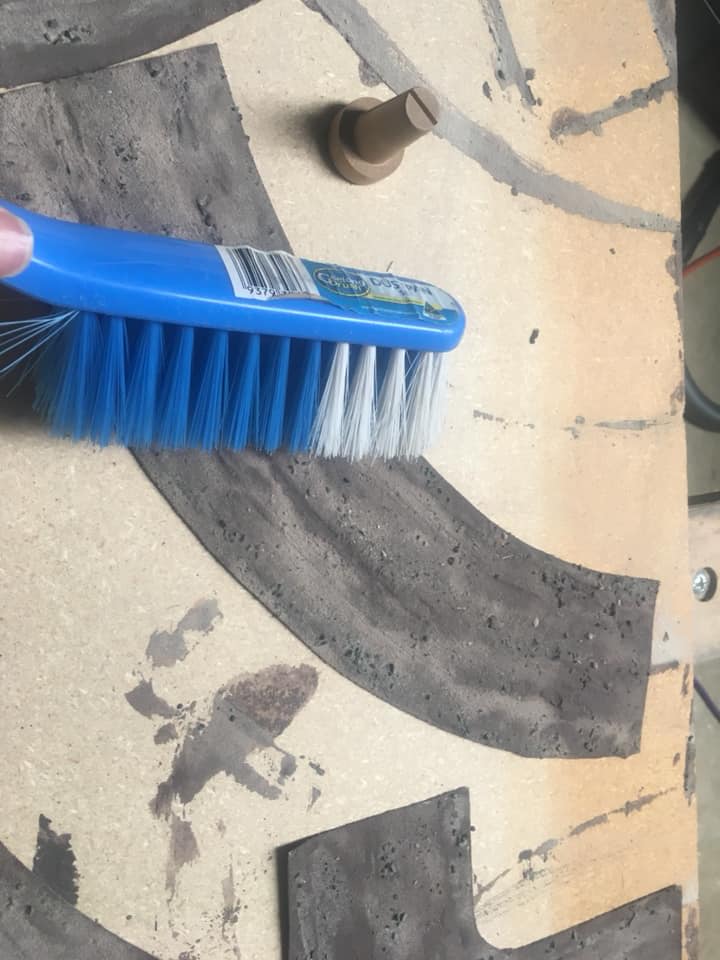
Using a hearth brush sweep off any remaining excess material. Now onto the painting

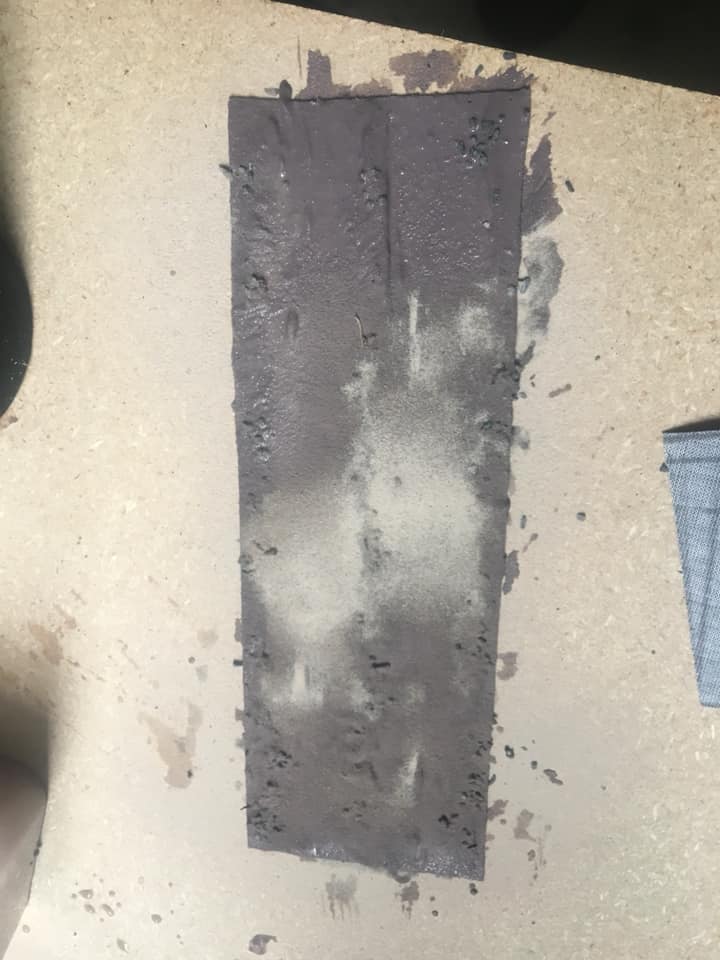
Using cheap acrylic mission brown fence finish undercoat everything.
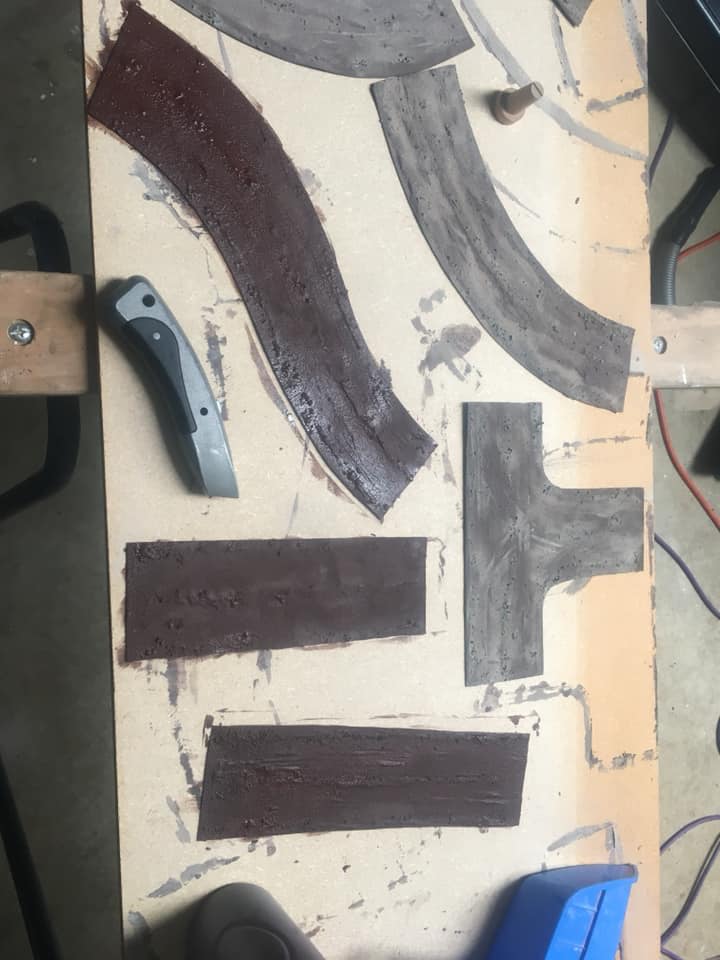
At this stage while trim off any over flow caulk with a good Stanley knife
Mission brown complete
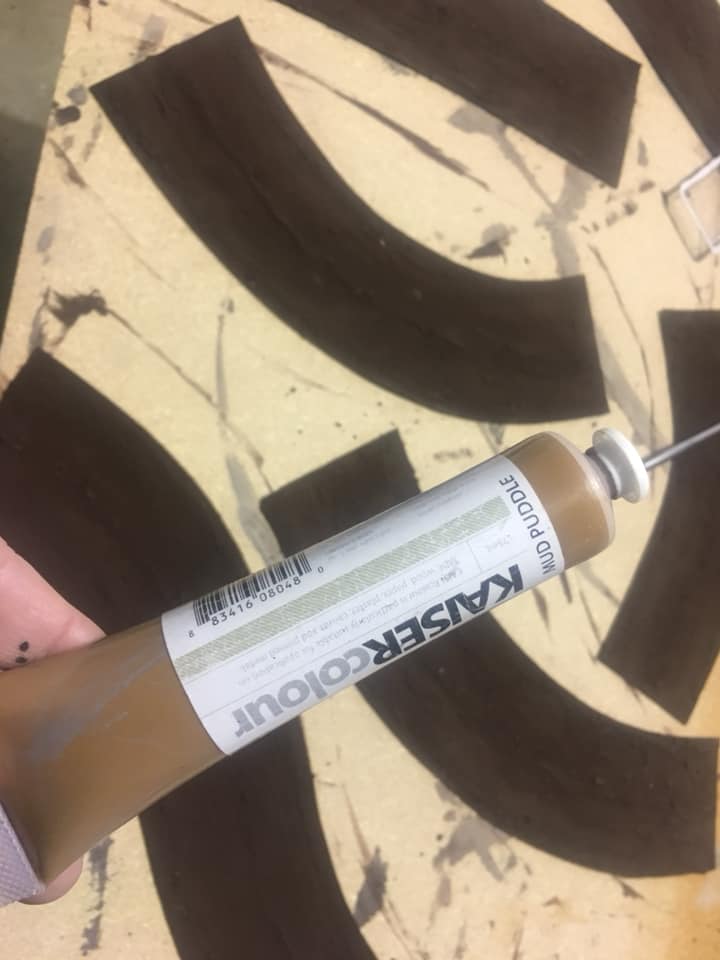
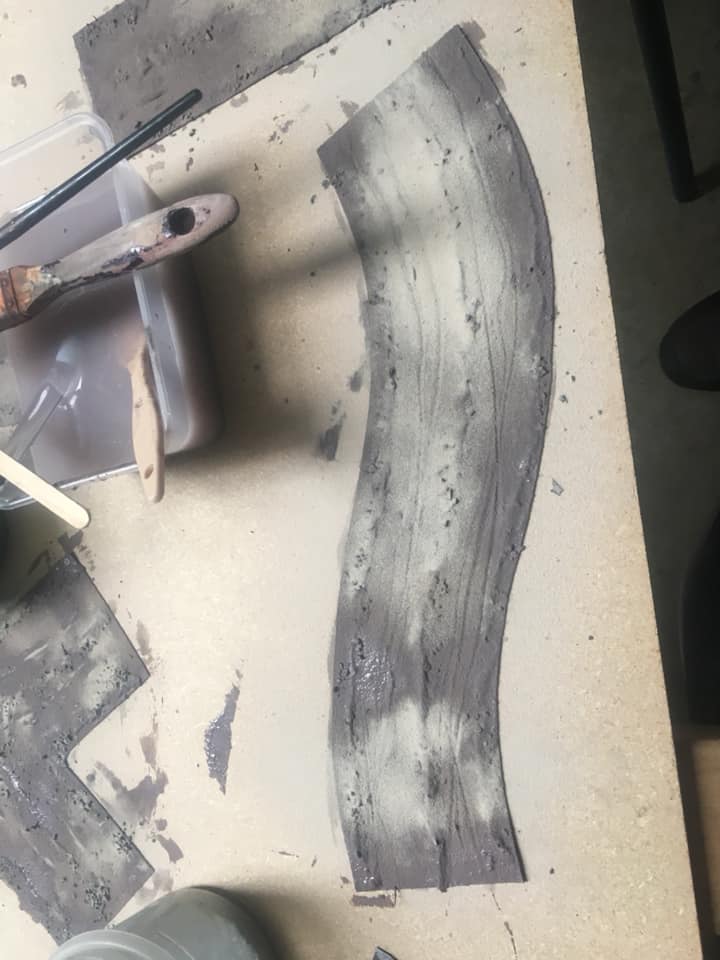
Our first colour to build up the roads is a heavy dry brush of Mud Puddle. This colour tends to fade as it dries so be vigorous in application.
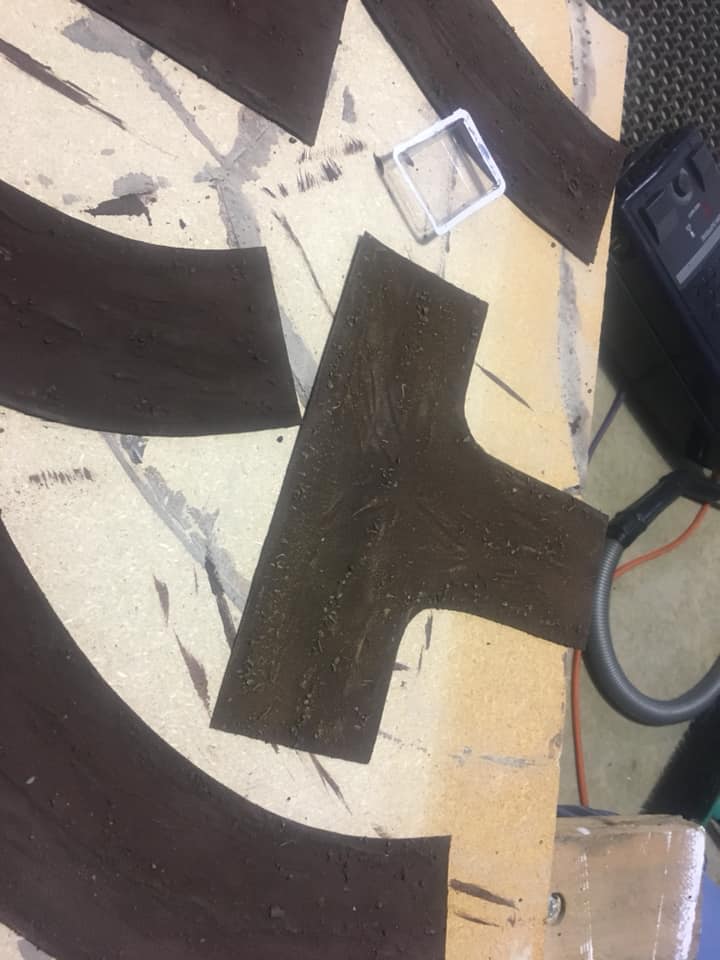
Mud puddle applies to T
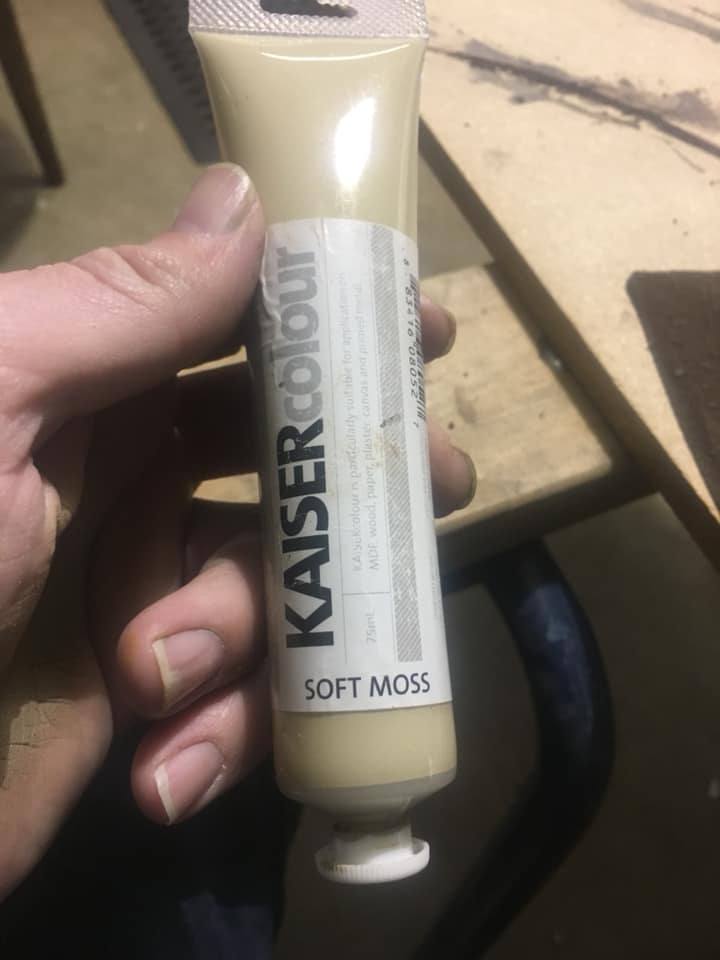
The next highlight used is this soft moss
Work sideways/across the road sections with this dry brush layer
The final layer is Eggshell. Work up consecutive layers of this till you get the lightness you want. These had 3 dry brush layers of this colour.
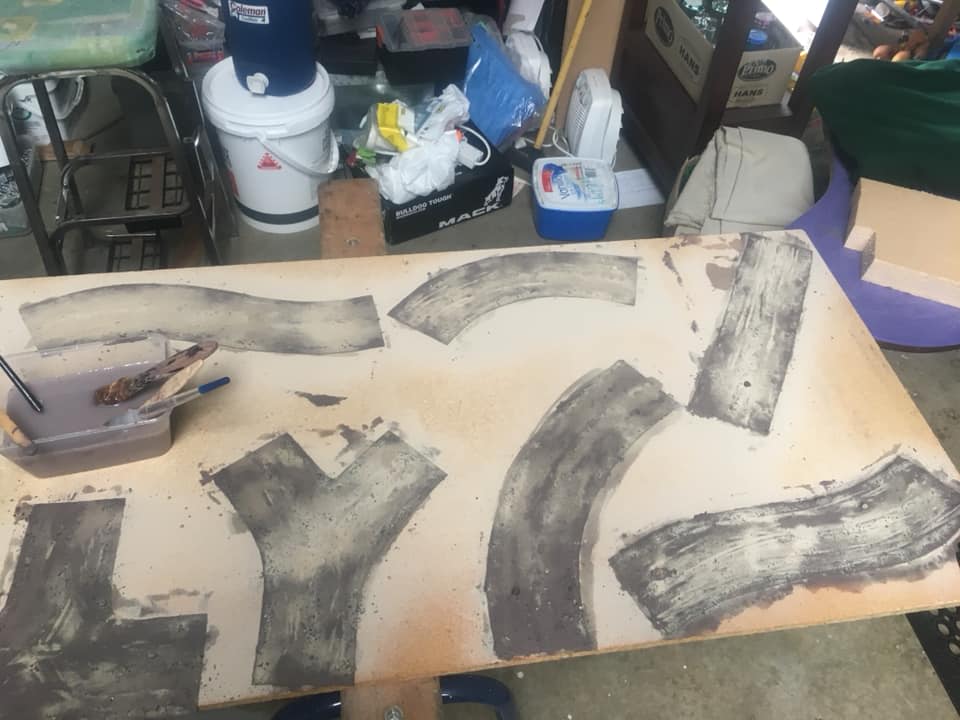
The finished product – the pot hole was one of the larger rocks that got knocked off during the glove work.

I recommend batch painting in a set so that your sections all match.

Finished product in natural afternoon light
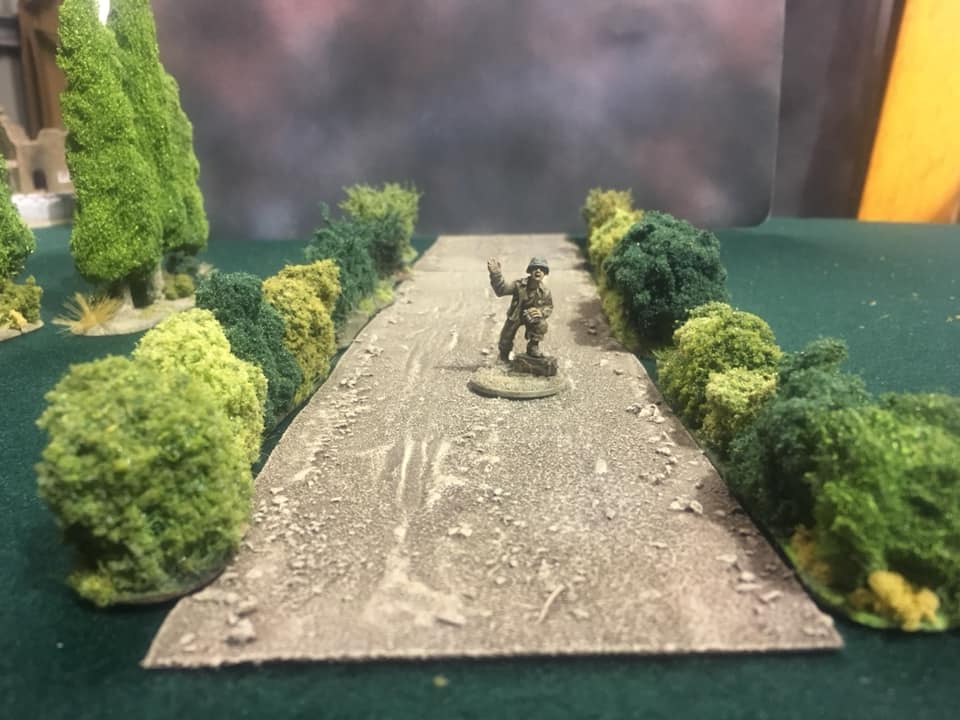
A Bolt Action figure by Warlord Games advances down a section of our new muddy roads.
What do you think? Is this a good tutorial? Let us know! Also check out this article about how to make realistic fields: Wargaming terrain: building a field
Great looking roads Baycee – just as an extra, same method works really well for rivers / streams. Added bonus, at a later stage if you want some awkward turns – just cut with a pair of scissors. My old club – RAF Leuchars – has been using a similar commercially bought item for 20 yrs …..