
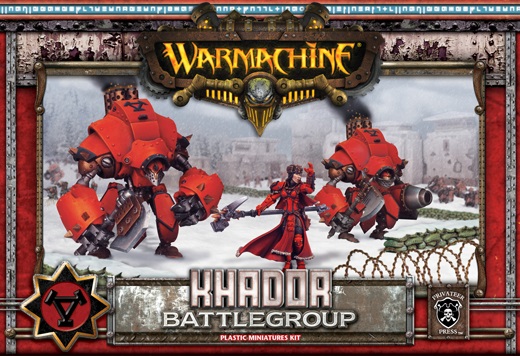
In this episode Tudor “Tudoru” Iliescu shows us a few Warmachine miniatures that are painted to a great standard!
Hi, I’ve been asked by Eugen to write a short tutorial about how i painted a few Warmachine miniatures (the Khador starter and 4 Widowmakers to be exact). A few words about me and the hobby: i started painting miniatures about a year ago (February 2013 i believe). At the beginning the hobby itself attracted me (especially the painting) more then the wargaming part. Before i started i think i read for about 3 months allot of articles and tutorials online about theory and techniques. I’ve documented myself beforehand about the materials (paints, primers, brushes, varnish, etc) and I’ve tried in principle before buying miniatures to have the absolute minimum of quality tools around first and after buy the actual models.
At the beginning i wanted to start with Warhammer 40k but after further looking online i stumbled on the Corvus Belli site, the producers of the Infinity miniatures (and of the game). I’ve decided to start with Infinity who have (in my opinion) some of the most beautiful miniatures on the market especially regarding details and dynamics of the models. I’ve tried to promote the game in itself but after a promising start it didn’t last (various reasons not to be named here) and for now there’s 4-5 of us still plating. But enough about that, the article will be about Warmachine, a game that I’ve recently gotten into. I hope to follow shortly with an Infinity article as i am painting right now a small force of Nomads.
All miniatures are 90% painted with an airbrush which is in my opinion a very useful tool. I use a Harder & Steenbeck Ultra (entry level).
Unfortunately there are going to be just the final pictures without the WIP ones.
First after prepping and assembling the miniatures i prime them with Vallejo Polyurethane White primer, in 2 layers (which are very smooth due to the airbrush).
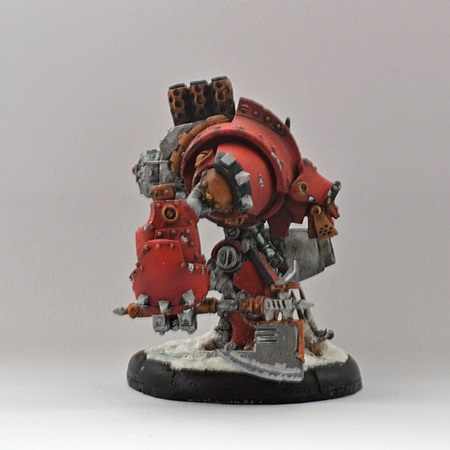
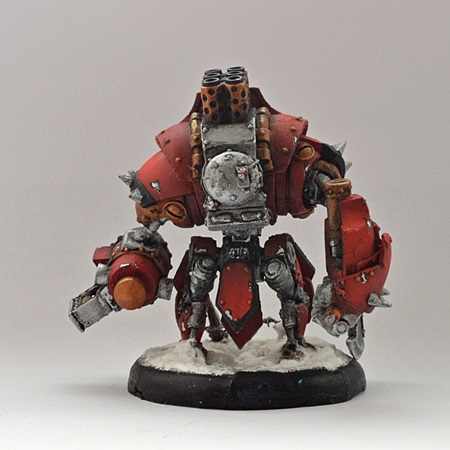
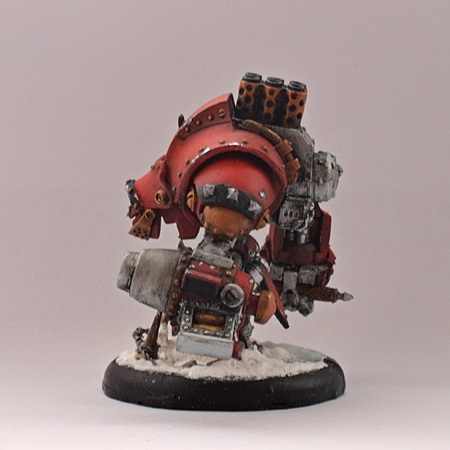
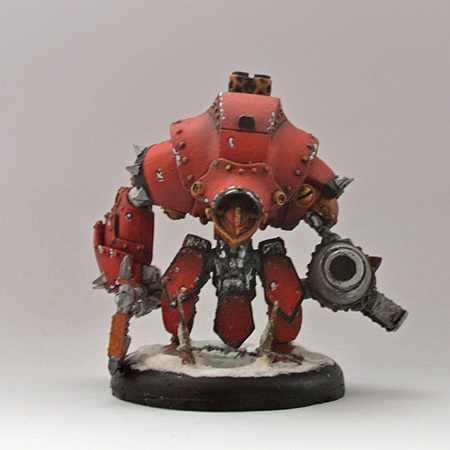
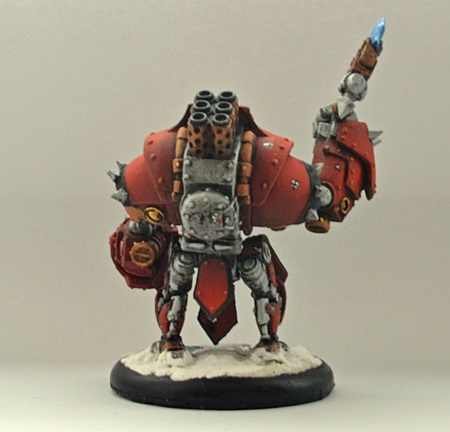
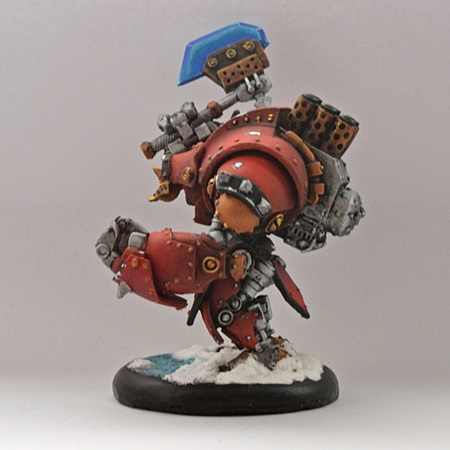
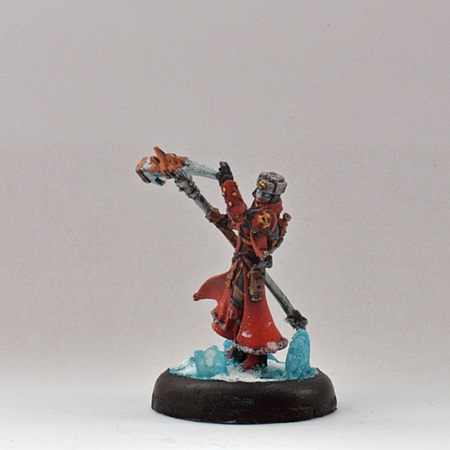
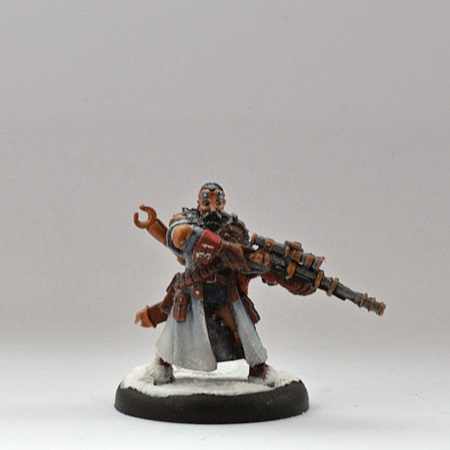
The two Warjacks:
1. The basecoat is done with a reddish brown (Vallejo Cavalry Brown). I cover the whole model, regardless if later some bits will be painted with other colors.
2. The first highlight will be Vallejo Flat Red applied on the portions that catch the light.
3. The final highlight will be Vallejo Vermillion who will be applied on the portions that catch the most light.
The problem of the color red is that if you want to do more highlights and start with red as the base you get to do orange highlights (adding yellow to red) or pink (adding white). This is why i am starting with brown (which represents also the shadows and the shading).
4. The last step for red is applying on the whole model Vallejo Red Ink (very diluted: paint/water 1:5 or 1:7) which will blend all the applied colors.
5. Metallic parts are painted with Vallejo Model Air Steel and/or Vallejo Model Color Copper.
6. All the model is protected with a Gloss Varnish layer for the next step.
7. Black Oil Wash. Practically you use Odourless Turpentine (turpentine essence but without smell and not that aggressive) and you combine it with an oil based color (Ivory Black) until you get the wash consistency. More exactly here: https://www.youtube.com/watch?v=Rdv-tmXjd_I. The advantage of those washes is that they are very “slick” and can be easily removed with an ear stick (moist with diluent) without modifying or “dirtying” the colors that they cover. You now wait until the wash is dry.
8. Matte Varnish over all the model.
9. Black pigment (Vallejo Natural Oxide) at the base of the boiler evacuation. Re-highlight with Copper and highlight with Gold (Vallejo again). A bit of black pigment on the Steel surfaces and then re-highlight with Steel.
10. Matte Varnish again and that’s it!
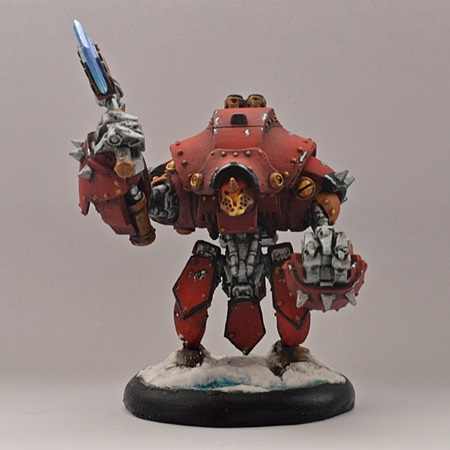
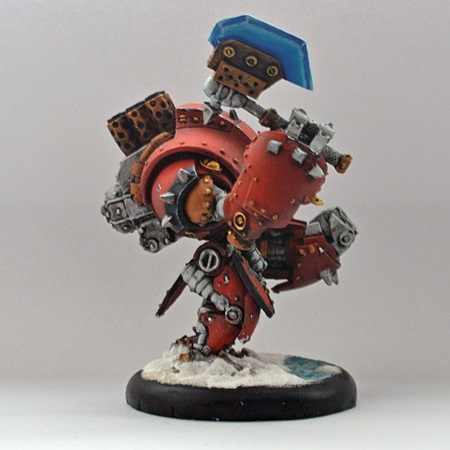
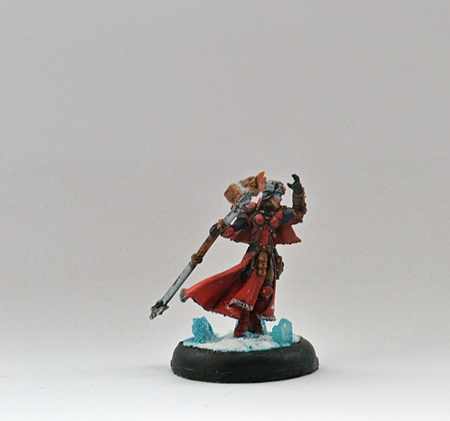
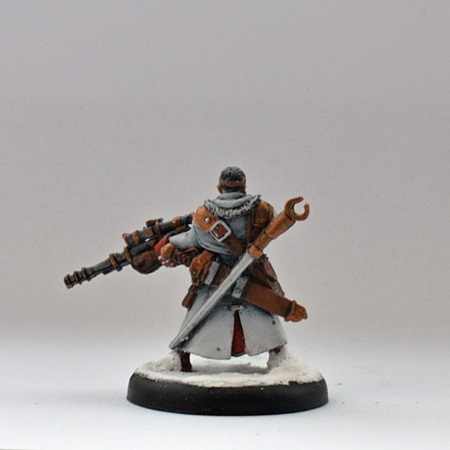
Same principles apply to the Sorscha.
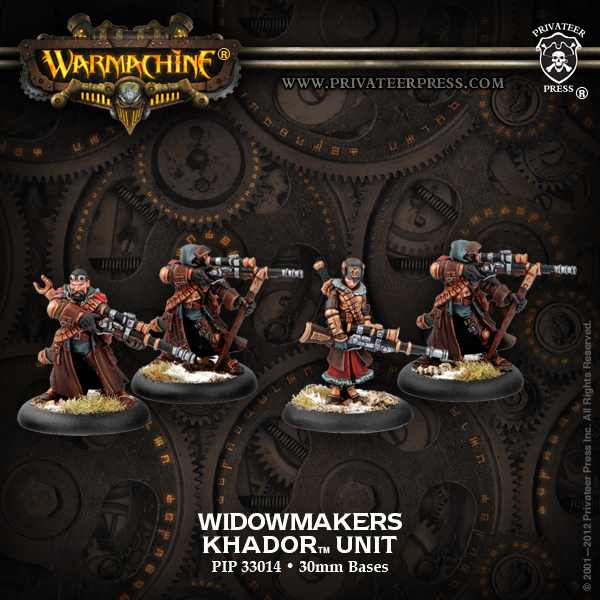
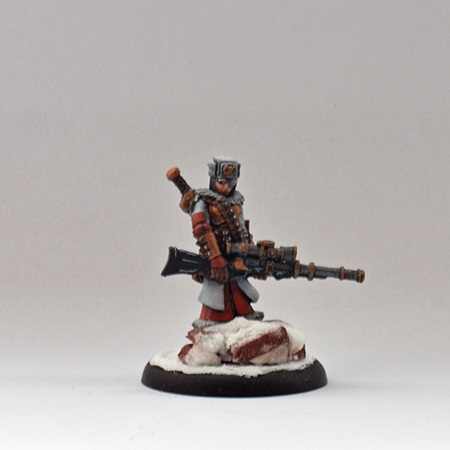
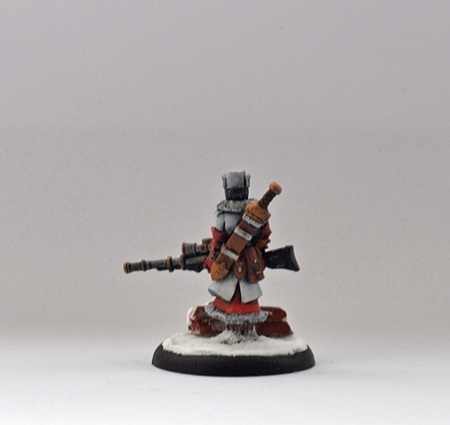
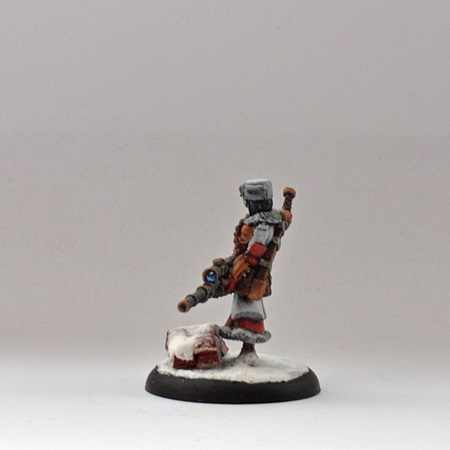
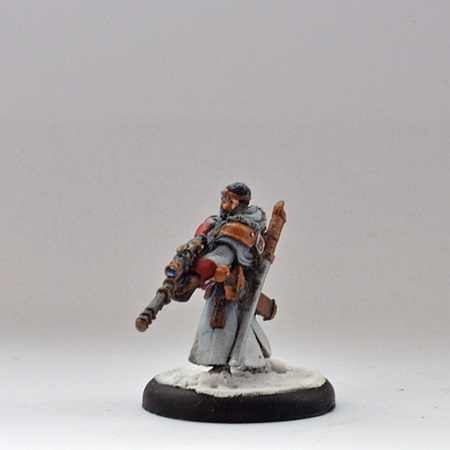
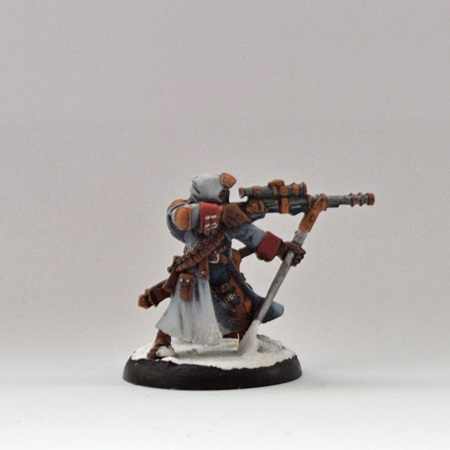
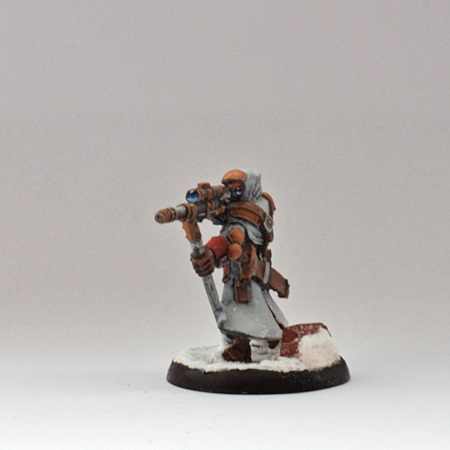
For the Widowmakers:
I’ll just describe the white because the rest of the steps are the same:
Basecoat with German Grey, Highlight with 1:1 German Grey/Pale Grey-Blue, Highlight 1:1 Pale Grey-Blue/White and then another small White highlight. Practically you’re narrowing the paint applying angle with your airbrush more and more. The rest of the colors use the same principles as shown above, using the brush. Follow with Gloss Varnish, Oil Wash (plus cleaning) and Matte varnish.
The gun lens are done like this: very dark blue basecoat, then a half circle of a lighter blue on the base of the lens until you reach the white and then a white dot opposed to the half circle. It will create the impression that light is reflected in the lens. There are allot of tutorials online that probably explain it better.
And that’s it! Take a look:

Leave a Reply