

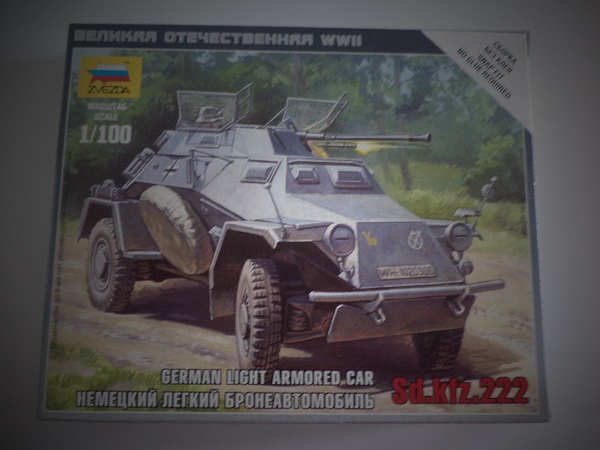
The Sdkfz. 222 was a light armored car used by Germany in recon missions during WW2. It was not designed to engage the enemy directly however it could deliver a punch to infantry and light vehicles with its 2 cm KwK 30 L/55 autocannon!
Introduction
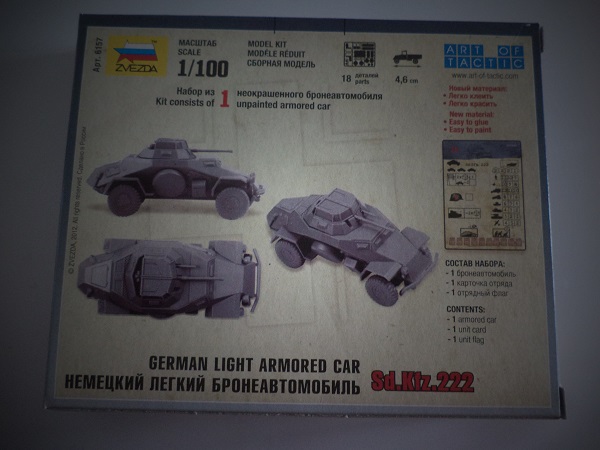
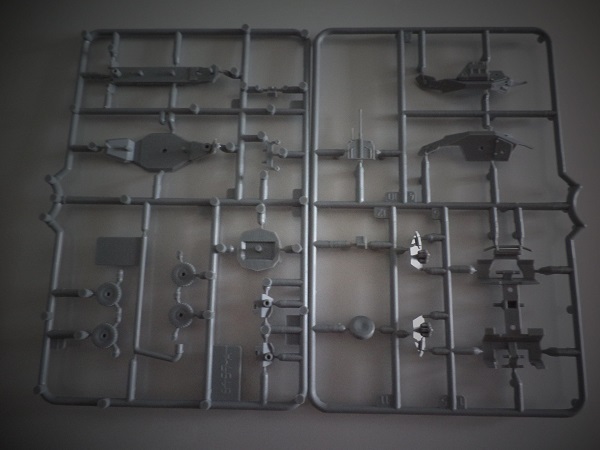
This is a wargaming kit made by Zvezda in the 1/100 scale (15mm). The box art is nice and the instructions on the back show that this model has 18 parts. Quite a lot of parts if you ask me for such a small model. It also made a name for itself apparently in the fact that it is a hard kit to assemble so keeping that in mind i was extremely curious when I popped the box open.
Assembly Process
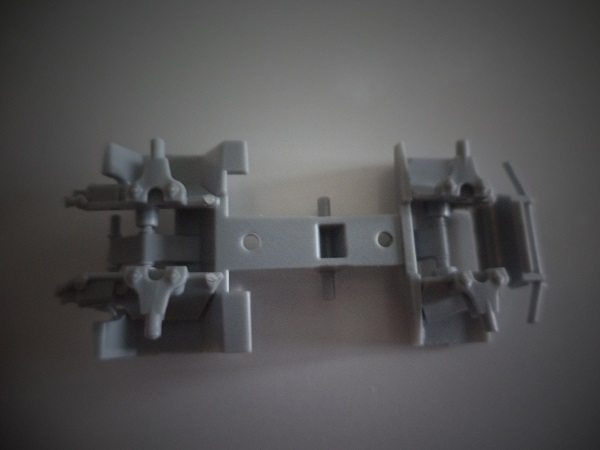
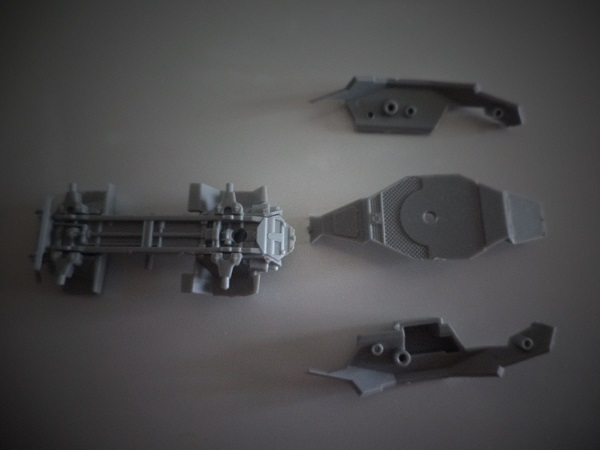
It was clear to me that I had to be very careful and study the instructions step by step. The first thing to do is to attach the wheel drives to the lower chassis.
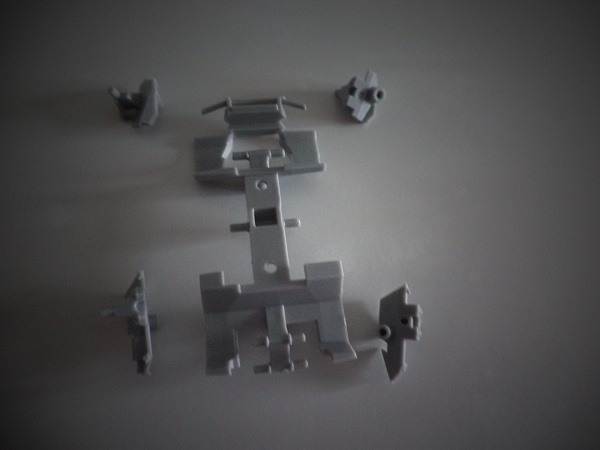
Horror moment number 1: the wheel drives are small. The plastic is extremely hard. When trying to fit them you will push them in to place with your finger and it will not be very pleasant as it punctures your skin. If you try to apply pressure in a different way there is a good chance that you will break the actual snap fit which actually breaks easily because of all the effort needed to push the piece into place.
My recommendation is to sand the fitting where you have to push the piece a bit to make sure you don’t have to push too hard. DO NOT use glue to fit them into place because of the horror moment number 2.
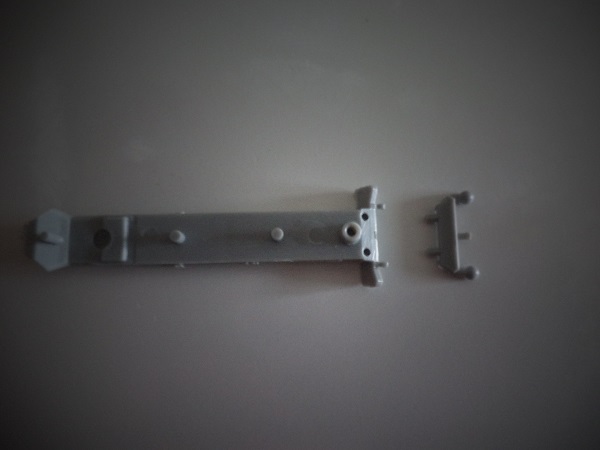
Next we assemble the second part of the chassis (call it upper chassis). This is easy enough as it has only 2 pieces.
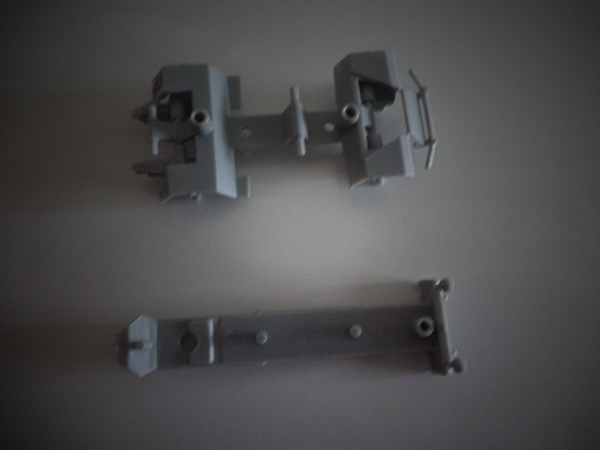
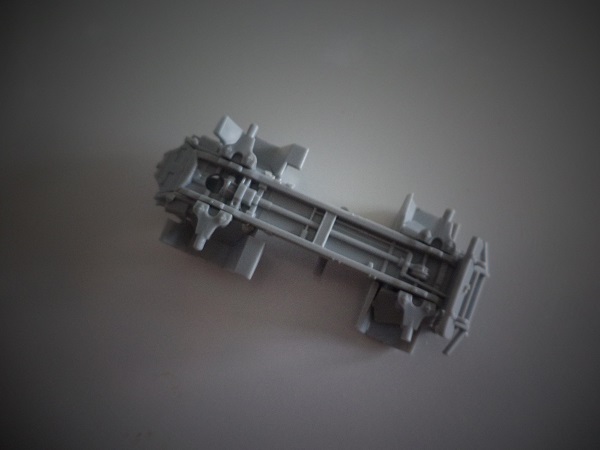
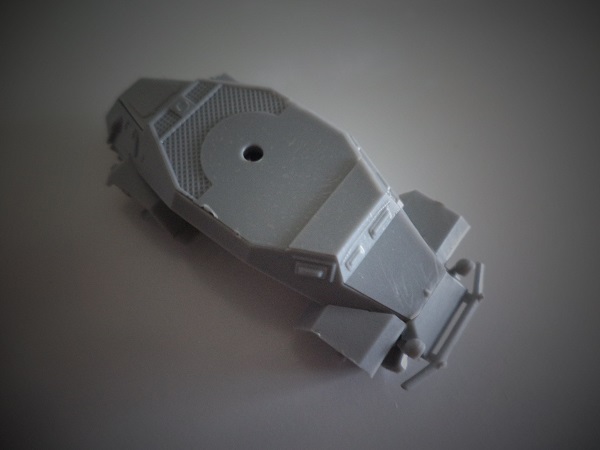
Horror moment number 2: Now we have to fit the lower and upper chassis together. Very careful try to align and snap them into place. It can be difficult for a bit and you certainly do not want to press the pieces together before you are absolutely sure they are aligned.
Next comes the body assembly. It doesn’t look too difficult, however i advise you to resist the temptation (if you have one) to use glue on this model. You guessed it, there is a Horror moment number 3.
Horror moment number 3: You assemble the lateral parts first. We come back now to the wheel drives. They actually prevent you from snapping the back side of the lateral parts into place if you pushed them too far into place. Please note that I couldn’t push mine all the way in and they still would interfere with this stage of the build.
Horror moment number 4: And after you snapped the lateral sides into place and want to close the hull with the top piece if you’ve pushed the lateral sides too far in (again this problem?) the top hull won’t fit. So you carefully pull the sides of the vehicle apart, hearing it snap and twitch, seeing even the wheel drives move out of place, to fit the top hull. You do it, eventually!
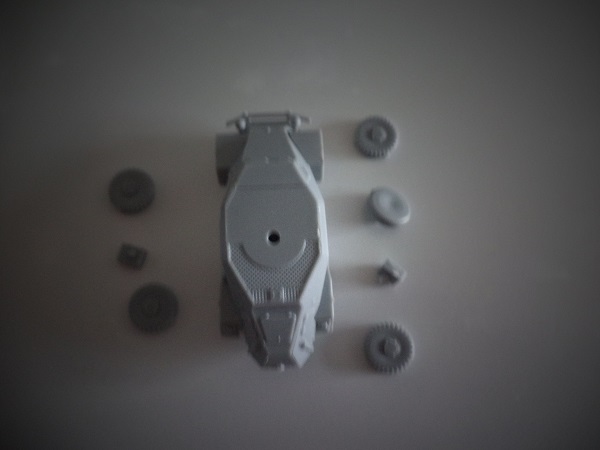
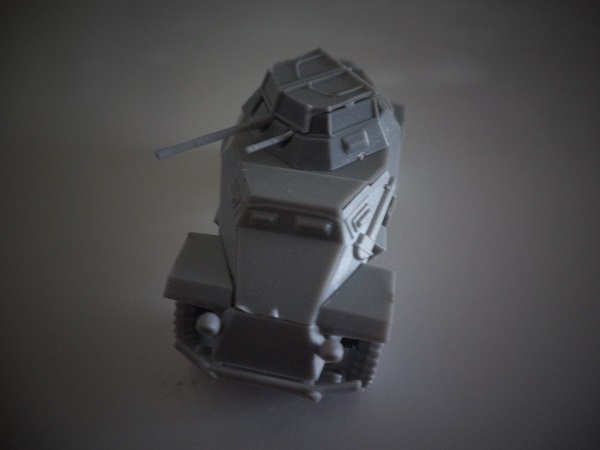
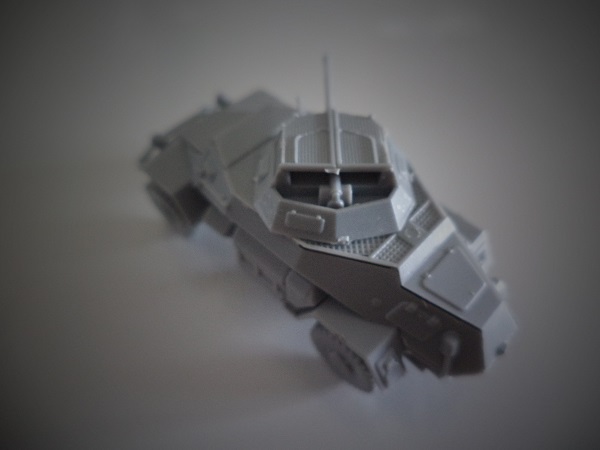
Next are the wheels and hull details. Not hard to mount on the vehicle, however also not easy.

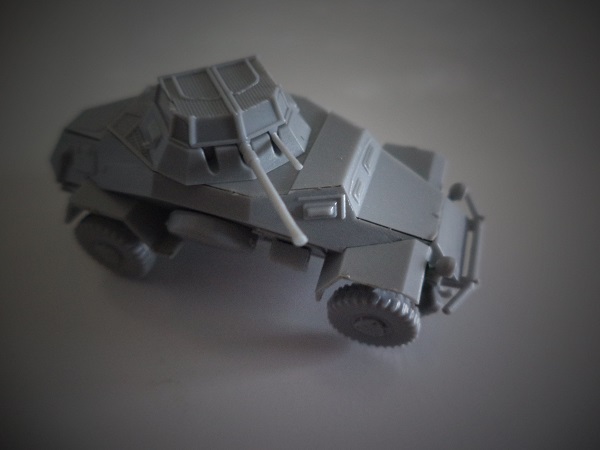
And we are finally done!
Evaluation
| Plastic Quality | 5 (Perfect) | Excelent hard plastic. Absolutely no flash on the pieces. |
| Number of Details | 5 (Perfect) | Extremely well detailed. |
| Instructions | 3 (Mediocre) | I felt they could have been more detailed. The fact that i had to redo some steps even after i carefully evaluated the build procedure is a minus. |
| Building Time | 4 (Good) | It took 15 minutes. |
| Enjoyment | 3.5 (Average) | The assembly took the joy away from me even if the model looks very nice. |
It is a good kit and if you need recon elements for your German army this is it. However don’t try to do more then 5 at once, as I can see getting frustrated easily.
Leave a Reply