

Lately the BFG syndrome (Battlefleet Gothic for those that don’t know the abbreviation) has been biting me, slowly but steadily. I’ve started scratchbuilding my Ork fleet as seen here and here and i tried getting some cheap ships online. Needless to say, even if i would snatch something off Ebay at a decent price shipping alone would make the purchase expensive by anyone’s standards (’till teleportation is invented) or at least by the standards of someone living in Romania. So with that in mind I’ve continued to search the net for cheap alternatives to BFG ships. I know, i know, Spartan Games does amazing stuff, and i agree! However by cheap i meant “not involving money by the bucket load” so you can better understand my situation.
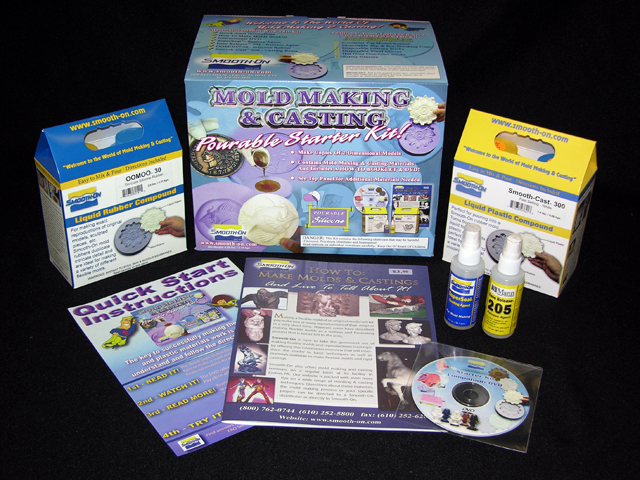
I’ve stumbled upon Smooth On by mistake, with a Youtube video of how to cast miniatures (seen here). The video made me feel confident enough to actually consider the possibility. Casting my own ships? Would that work? I quickly reasoned in my mind that getting a casting kit should not be that hard and not that expensive and off i went on the interweb! 10 minutes later i find that i can either buy it from the US for a cheap price but pay heavily on shipping (and taxes, after all) or i can get it from the EU. I chose the German distributor as it simply inspires trust to me (i would have chosen the UK one but i reasoned Germany is closer so shipment would be faster) and i got the starter kit, for close to 80 Euros (20 or so of which was the shipping, argh!).
An agonizing 5 days later (and that’s fast by our standards) the kit arrived. In the same day some Chaos Cruisers i traded for with a nice gentleman from the UK arrived also. I couldn’t be more happy however i had to temper my enthusiasm as i needed to wait for the week-end when i would have time to start this. Fast forward 2 more days and this happened:
1. I removed as much paint as i could from 1 Chaos Cruiser.
2. I snapped apart all the Cruiser support weapons (luckily each one came with different options so now i have the launch bays, the turrets and the heavy guns in groups of 4)
3. I chose the best looking Cruiser and snapped it in half to cast with a simple one piece mold.
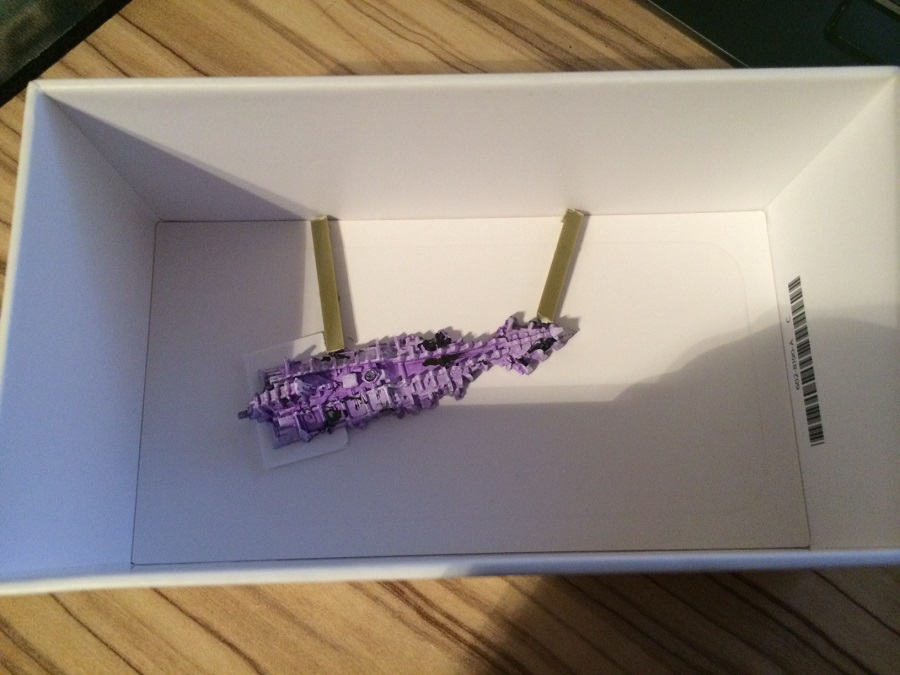
Saturday night, with time on my hand, i begun the casting process for the lower half of the Chaos Cruiser. Steps are (in case you need any help, but the instructions are very easy):
a) Glue the object you need to cast to the bottom of the box used (i forgot to do that and i almost botched the casting, but i moved fast and repaired it)
b) Spray it with the Super Seal that comes in the box. Wait 5 minutes to dry.
c) Spray it again with the Super Seal. Wait 20 minutes to dry.
d) Spray it with the Easy Release stuff. It will make sure the Silicone doesn’t adhere to your object. Wait 10 minutes.
e) Start mixing equal amounts (use an electric scales weighing balance because the compounds do not have the same qualities) of the A and B compounds (the silicone ones of course). One is blue and one is pinkish.
f) Mix and Mix using one of the wooden sticks provided with the kit. You will know the mix is good when it changes to an uniform color between blue and pinkish. By the way, you will hear it pop allot. That’s the air bubbles forming as you mix.
g) As soon as you think it’s good (but not longer then 2-3 minutes if you did it right) you are ready to pour. Just go to the corner of the mold box and start pouring with a slow, thin and steady stream. It’s really easy as long as you have patience and a semi-steady hand.
h) You need to cover the whole model with the silicone. I made the mistake to kind of “cut” the lower tail of my cruiser (not enough material mixed) so that’s a fabrication defect from the start.
i) Leave your mold to cure for 6 hours.
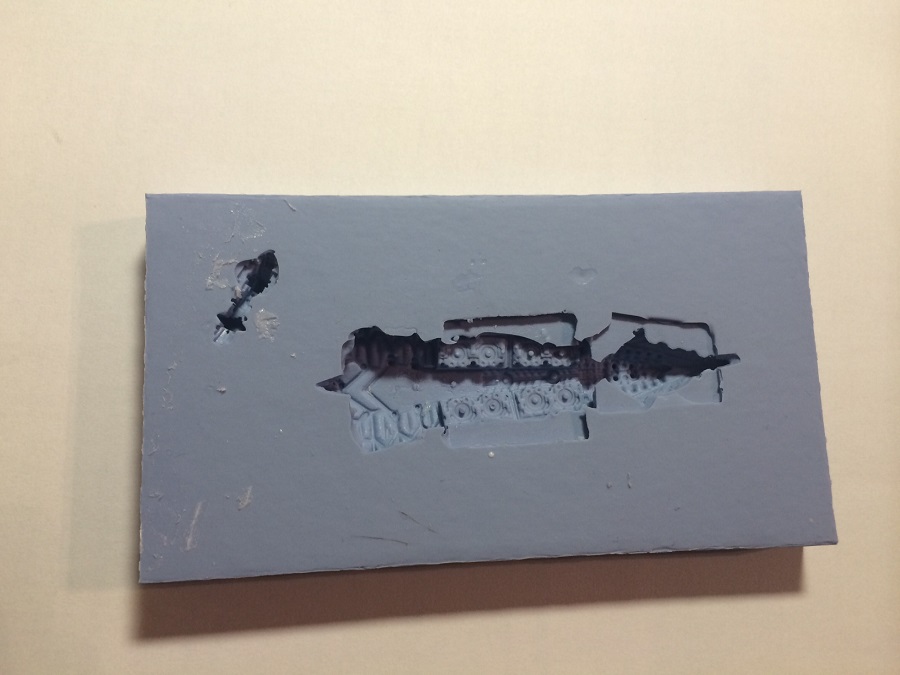
One problem though: your mold will have a lot of air bubbles. I mean hundreds (if done my way, and that’s the noobish way). What i did (and it actually worked) was just tap the mold from the sides for a good 5-10 minutes (while trying to not breath the silicone too much) while air bubbles showed up and simply popped on the surface of the silicone. Ideally you’d want to find a way to get the air out of the silicone in a more automated manner, but tapping works.
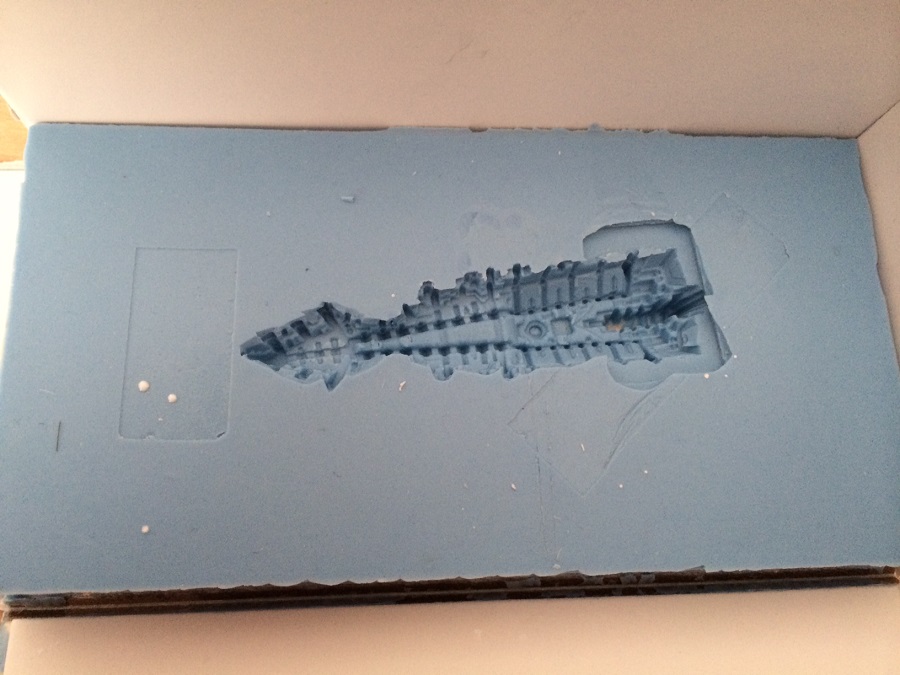
I woke up all excited on Sunday and went to check my stuff. The mold was awesome! Naturally i proceeded to cast some ships right away. The procedure is very basic:
a) Mix equal amounts of the Resin A and B (use again a scale as they differ in weight/volume) in a container.
b) Mix them for a short while until you are sure they are properly combined (i could feel the resin getting warm through the plastic glass in my hand)
c) Pour the resin careful and slowly in the mold.
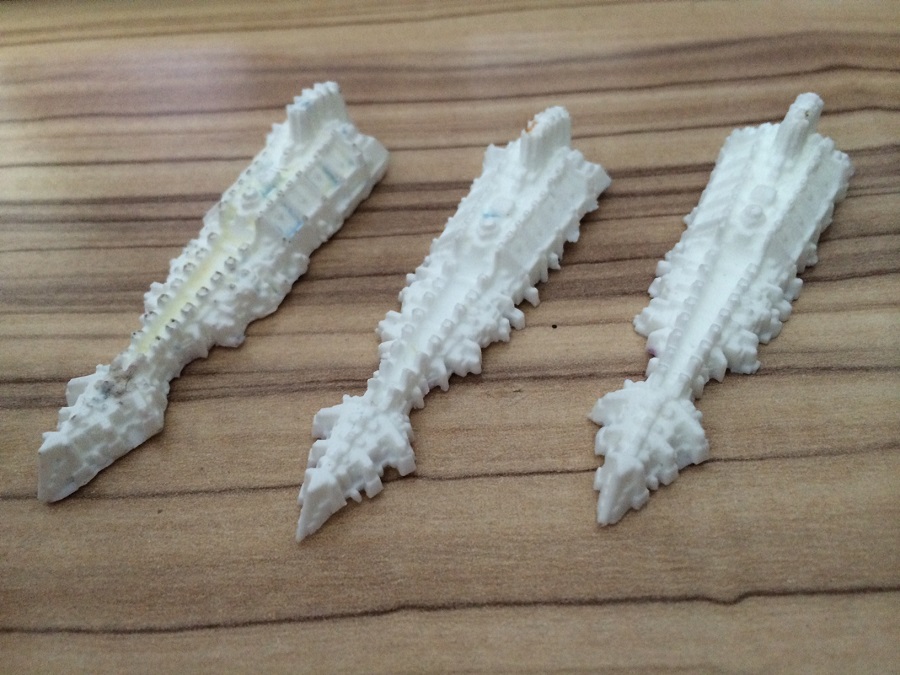
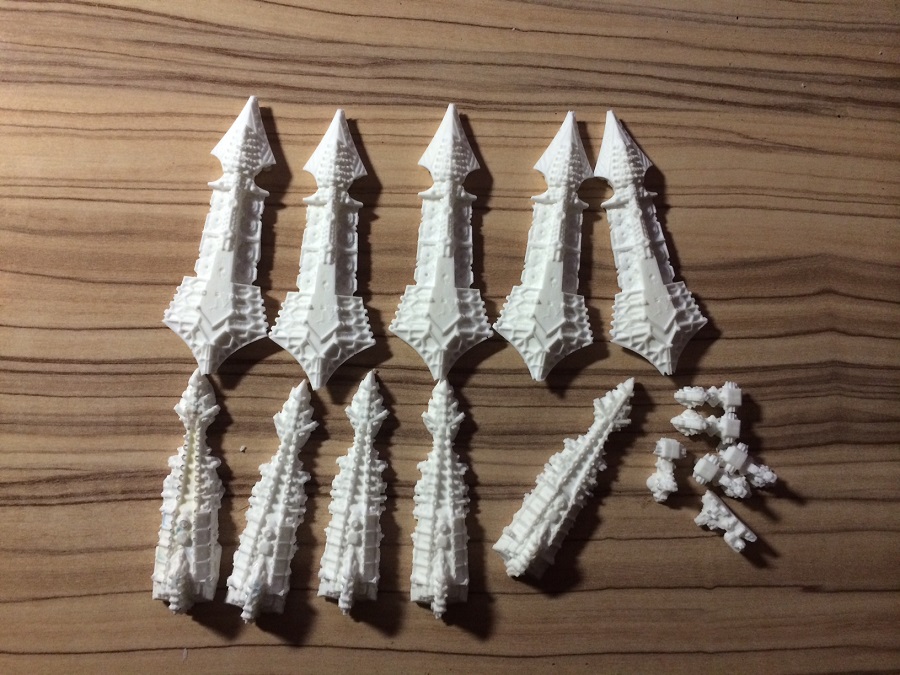
For me the resin cured in about 15 minutes so after an hour i had 3 casts:
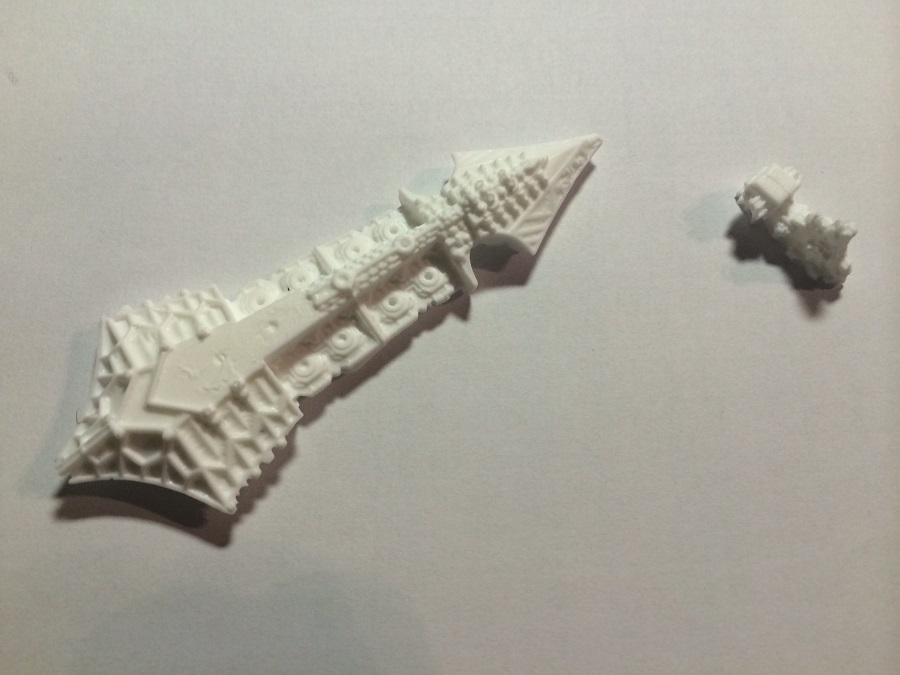
I did the same process over for the ship bridge and the upper half of the chaos cruiser and by Sunday night i had that part cast also.

Now, a bit of a disclaimer:
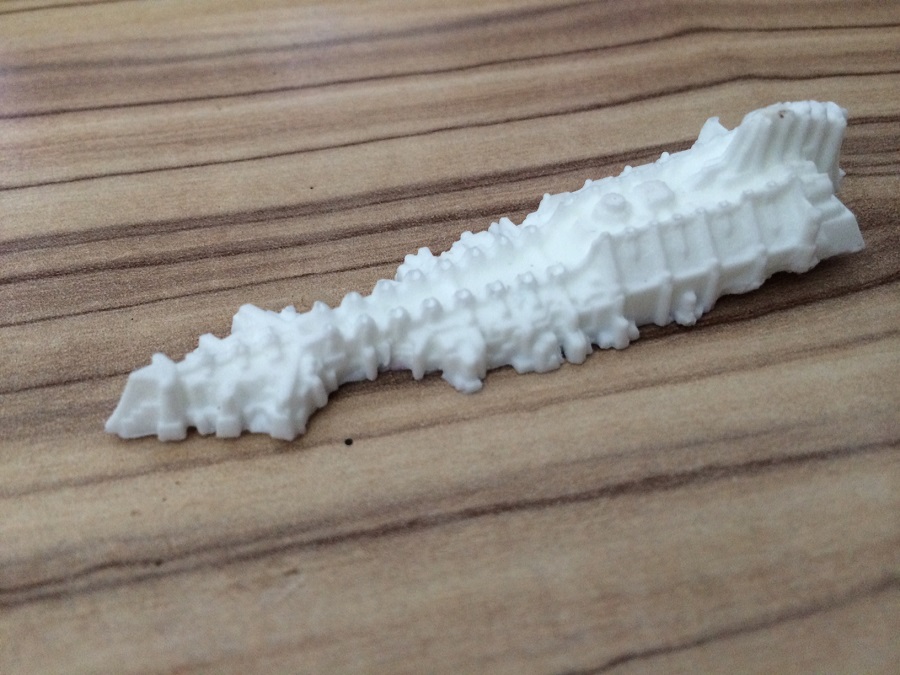
They are not the same detail as the original plastic parts. Far from it! A few of the details that are missing are: the nose of the cruiser sometimes is not complete, the pointed back part of the cruiser is again always incomplete, the spikes on the belly of the cruiser attract air bubbles and are always incorrect, the bridge is mostly broken because it has allot of small parts that attract air bubbles and finally the 2 pieces don’t glue together very well as it depends on how much material i used and if they are close enough or develop gaps (most of them have less then 1mm gap but you can clearly see it).
Do i care? Not really. These are not for selling but for own play and i doubt that once i fill the gaps with a bit of putty and i paint them anyone will notice the difference from less then 1 foot away. By the way, this is what i did tonight:
Sorry to see the thread you started on TMP has been deleted. I can’t apologise for the members who were rude and snide enough to call you ‘thief’ or similar, but I am sorry to see that you were subjected to such abuse. You go right on casting, and enjoying your hobby, as YOU see fit.
– Macrossmartin
Thanks for your support, Martin! It’s a shame the thread was deleted indeed. 🙁
Wonderful post, thank you very much as this is quite inspirational! As GW have completely discontinued BFG with no support or even recognition on their website that BFG ever existed I have no problems making my own casts for my personal use.
At some point I hope to do some casting myself, though I think I will make the container a tighter fit that how you did yours as to minimise the silicone wasted. Apparently lego is pretty good for making a box.
Besides…Chaos ships, after spending a millennia in the Eye of Terror, would look all warped and bubbled and stuff !!!
This is great! I too am an enthusiast of BFG and I intend to use moulds to cast my own fleet. Great tutorial!